本文起初发布于2025年,因2026年初VPS故障,“灾后重建”补发并适当调整。
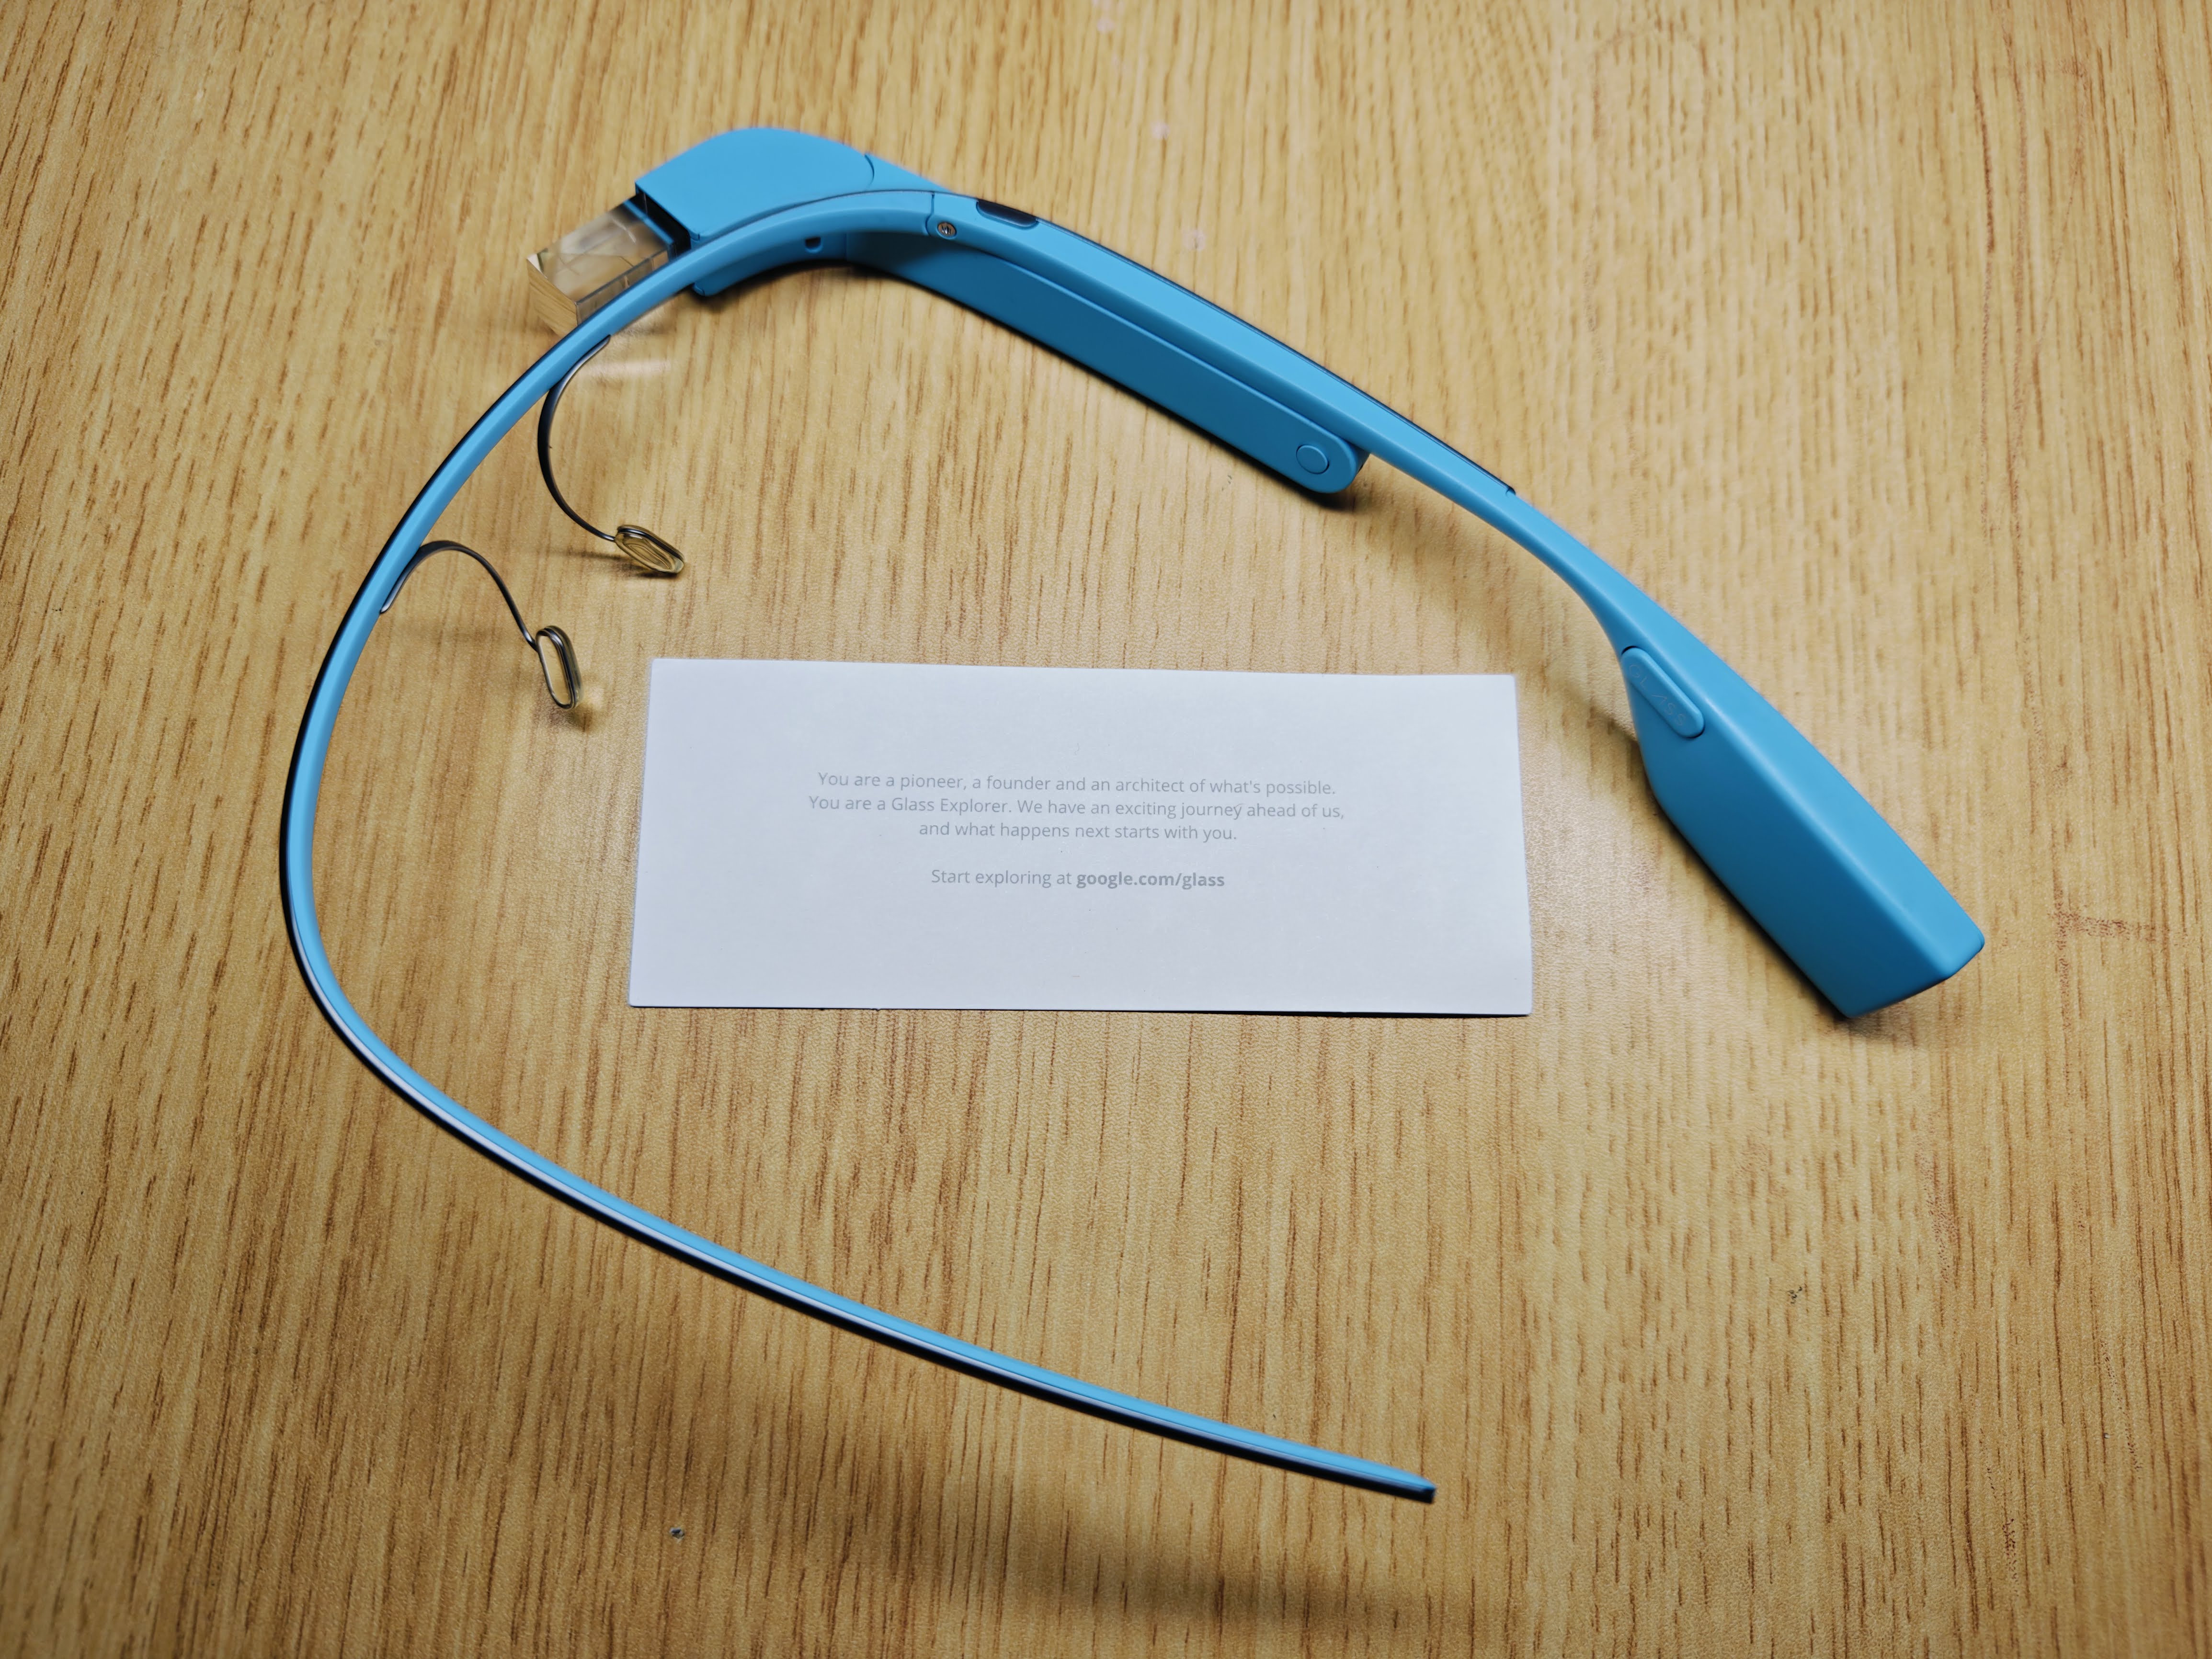
这次的主角,是它——Google Glass

智能眼镜的开端
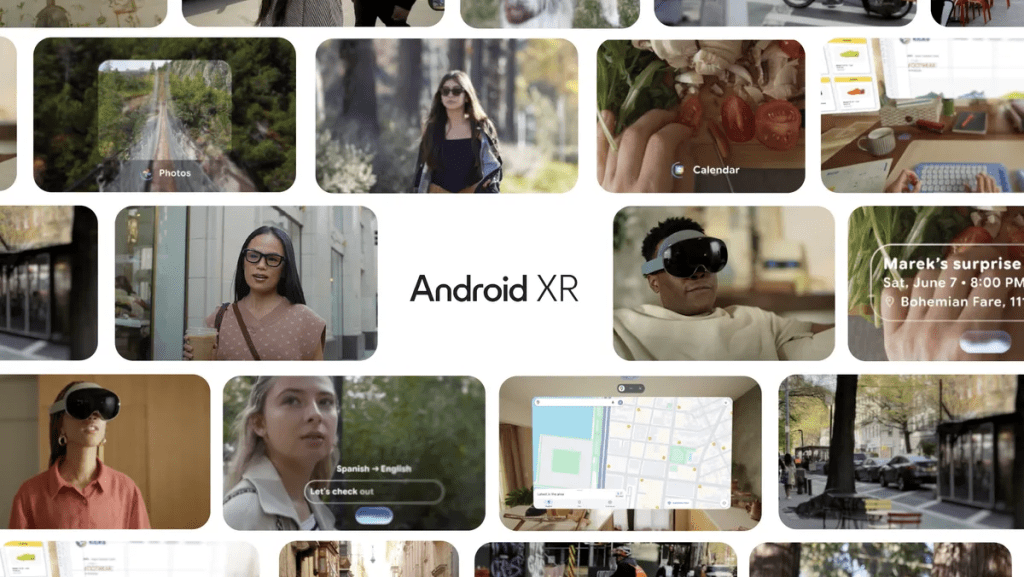
2025年5月,谷歌开发者大会发布了Android XR,将有第三方厂商发布搭载这一智能眼镜系统:
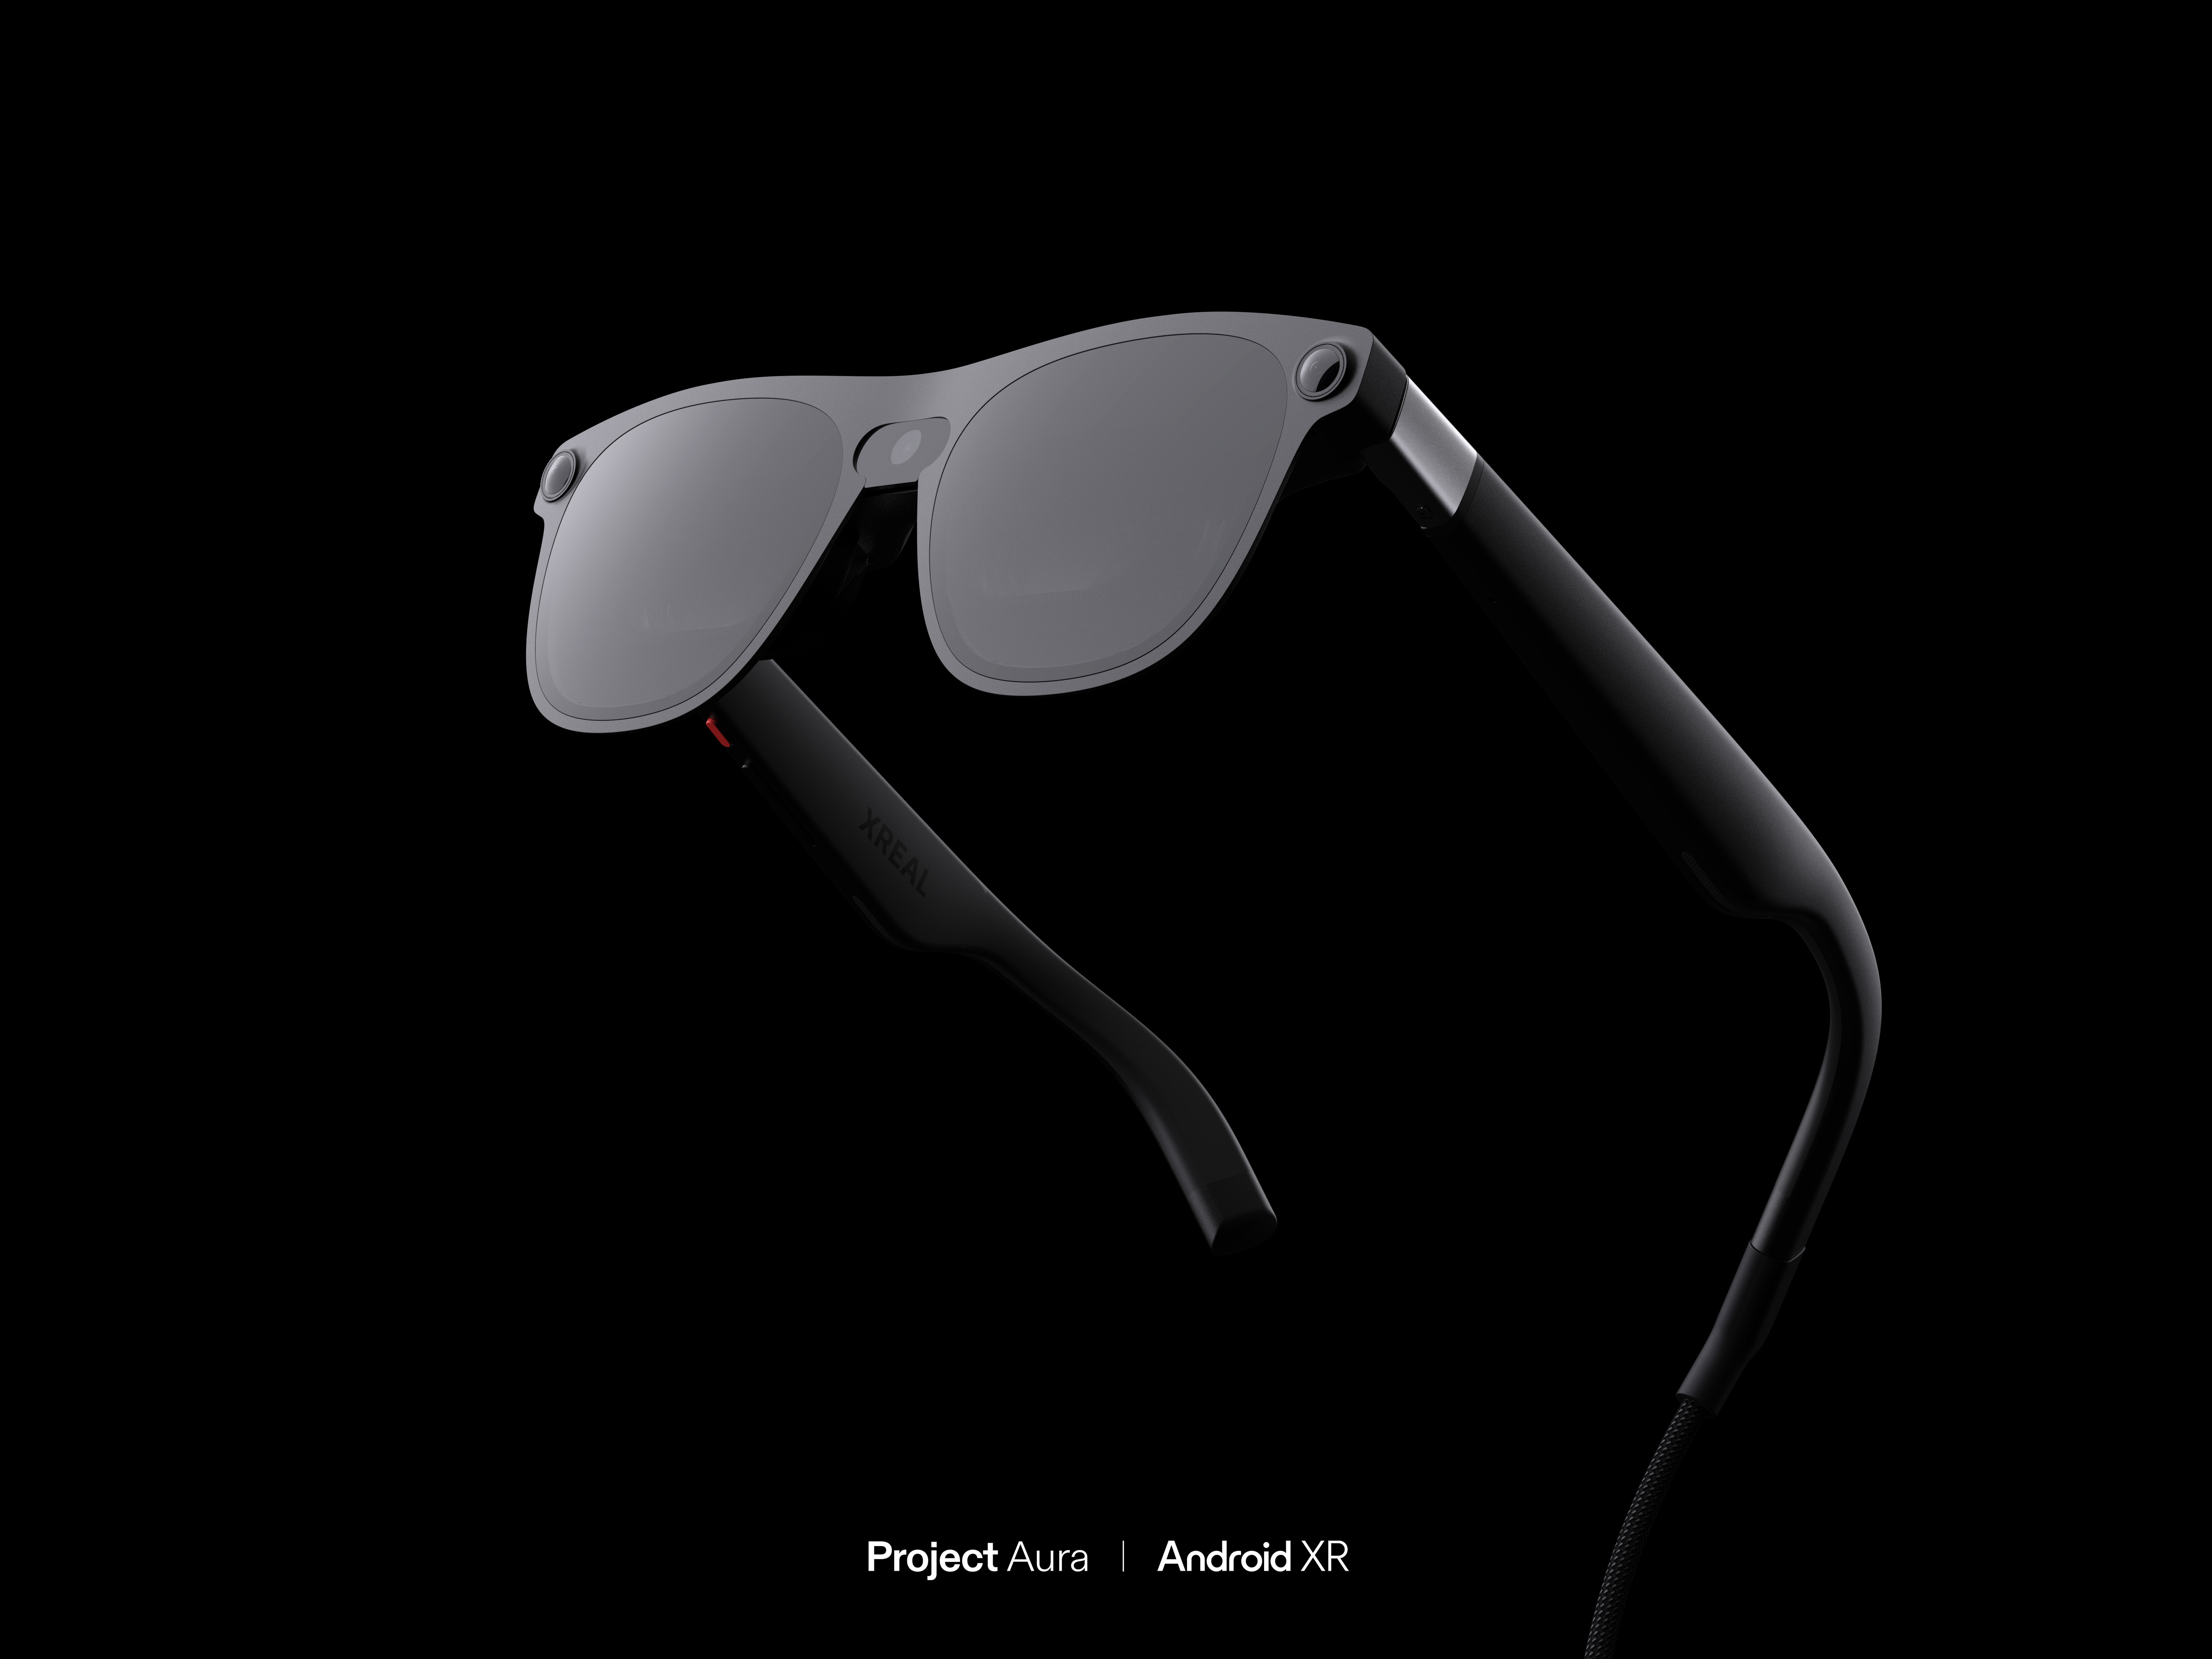
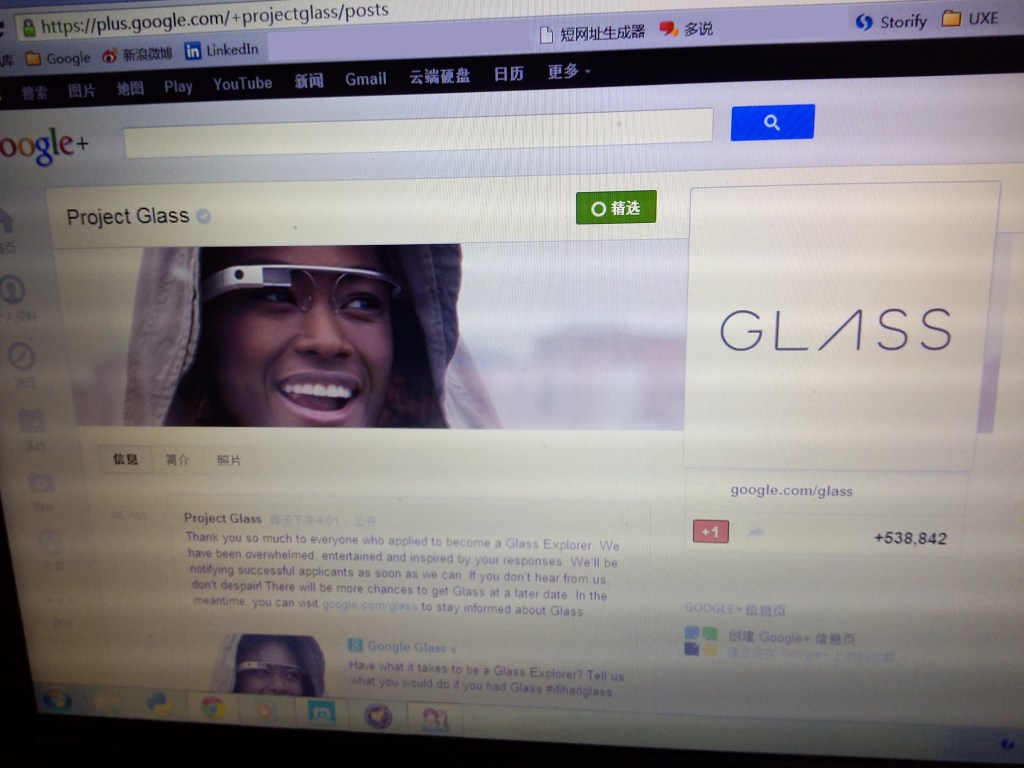
其实十二年前的2013年,谷歌曾经亲自下场研发销售过一款智能眼镜,但是消费者版不到两年就停产,其后的面向企业用户的版本也在2023年停止服务。
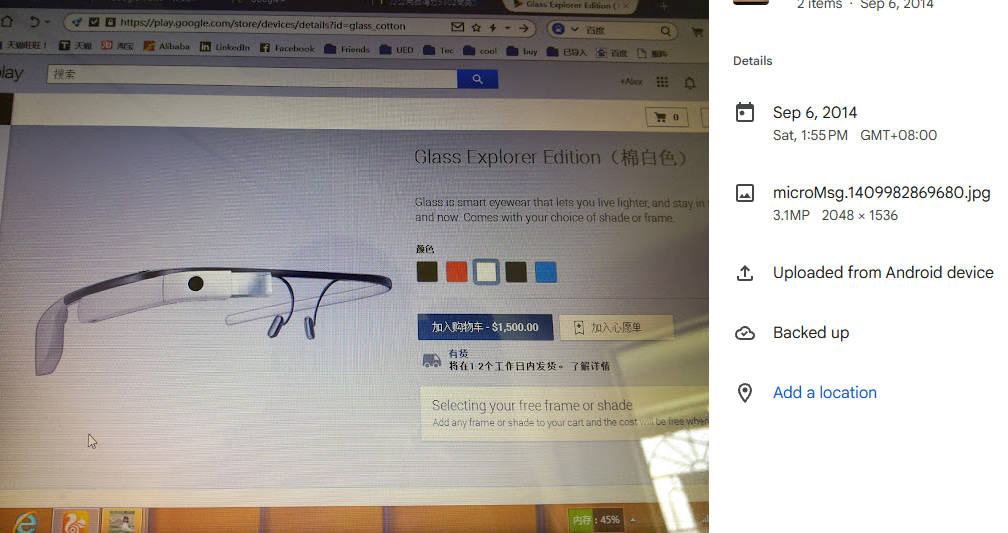
高昂的售价(1,500美金)、有限的实用性、高度的摄录隐私质疑、分神导致行走行车不安全、无奈的续航,是舆论诟病它失败的一些重要因素。
其实当年我就很想要有一副这样的充满科技感的眼镜(那时候同时新兴的充满科技感的手机AR游戏Ingress也是出自谷歌,有人还畅想在Glass上玩Ingress,实在泰酷辣!),但是无奈实在是买不起啊,BTW,它和赛亚人的高科技眼镜颇有些异曲同工之妙……

二手市场拔草购入
直到最近,偶然打开闲鱼,再次看到了这数码古董,浏览比价了一两天,700多RMB,咬咬牙,拔草,就当是收藏了,毕竟,过了十多年,CPU和系统早就落伍,电池的续航更是不要太指望。
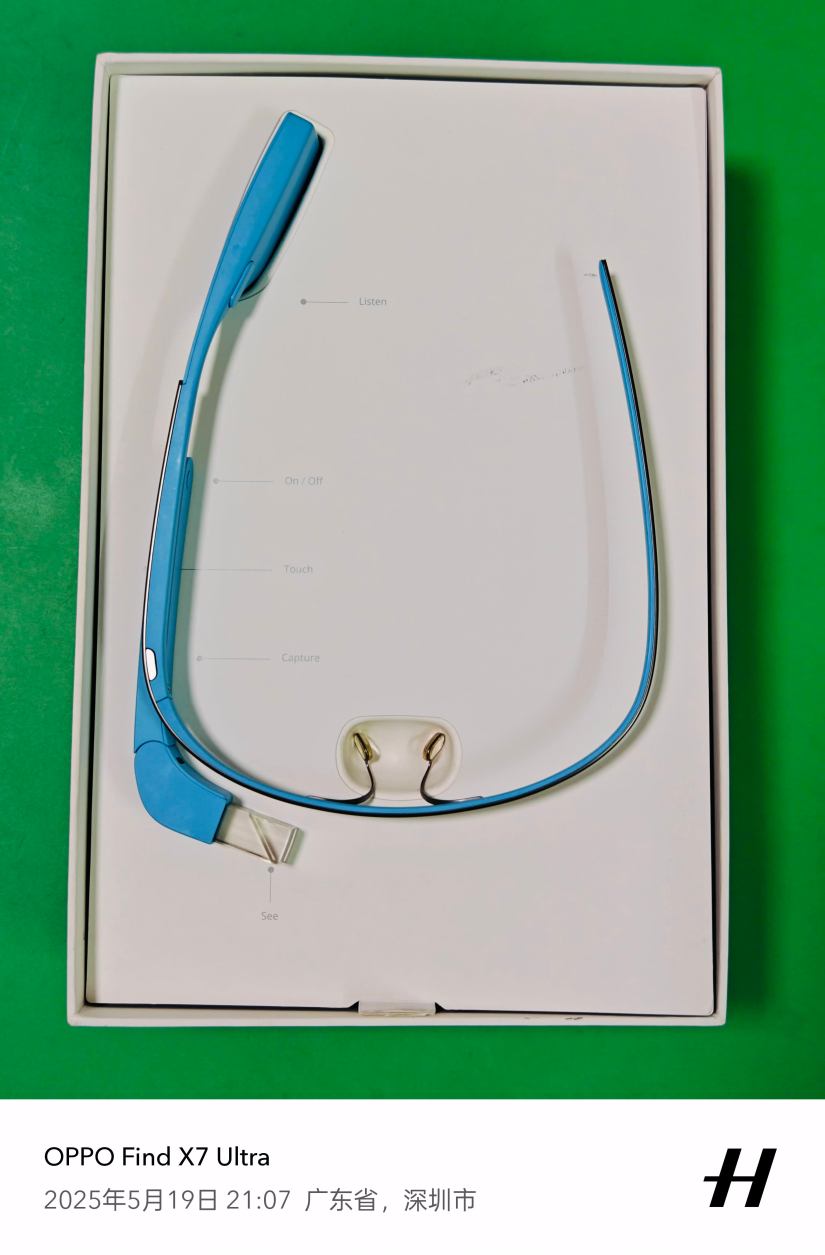
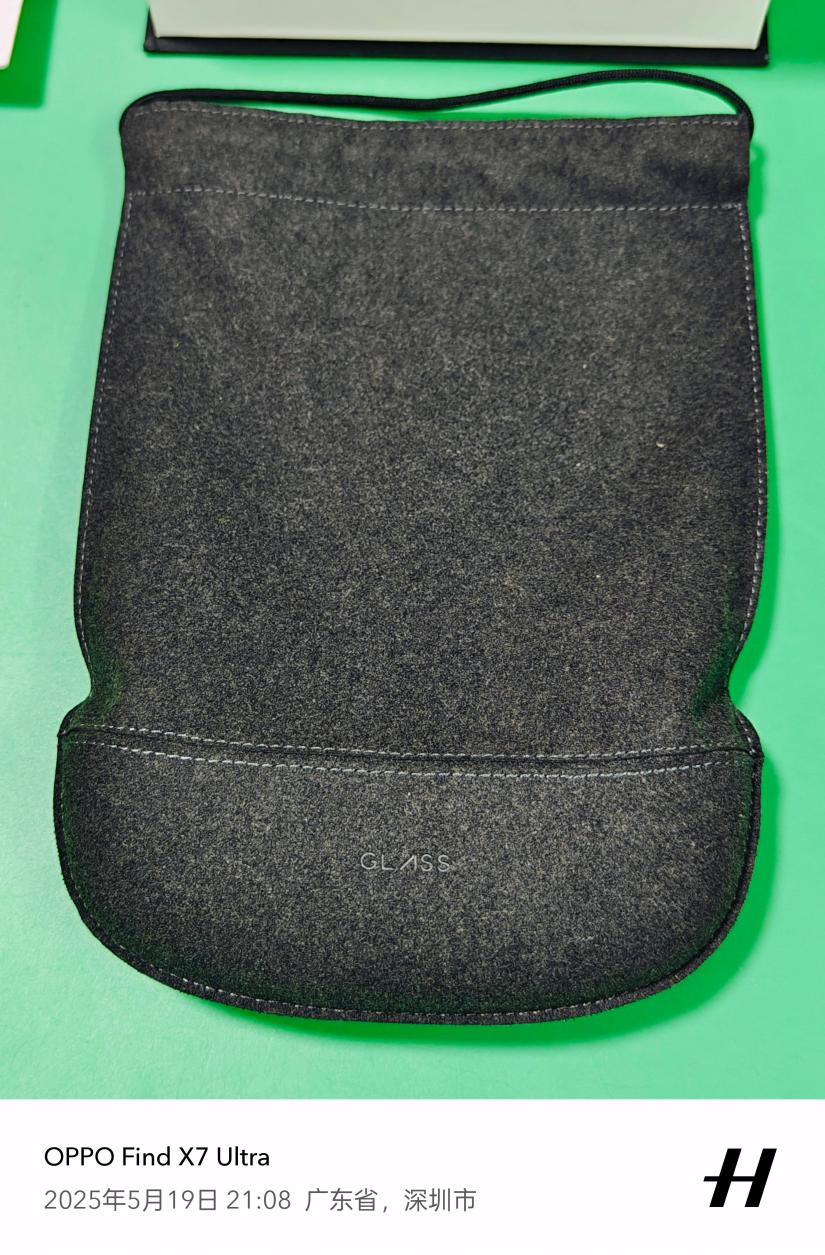
我买的这个二手眼镜箱说配件都齐全,眼镜和配件的外观都很好,除了外箱有点旧,整体很不错,毕竟是为了收藏嘛。
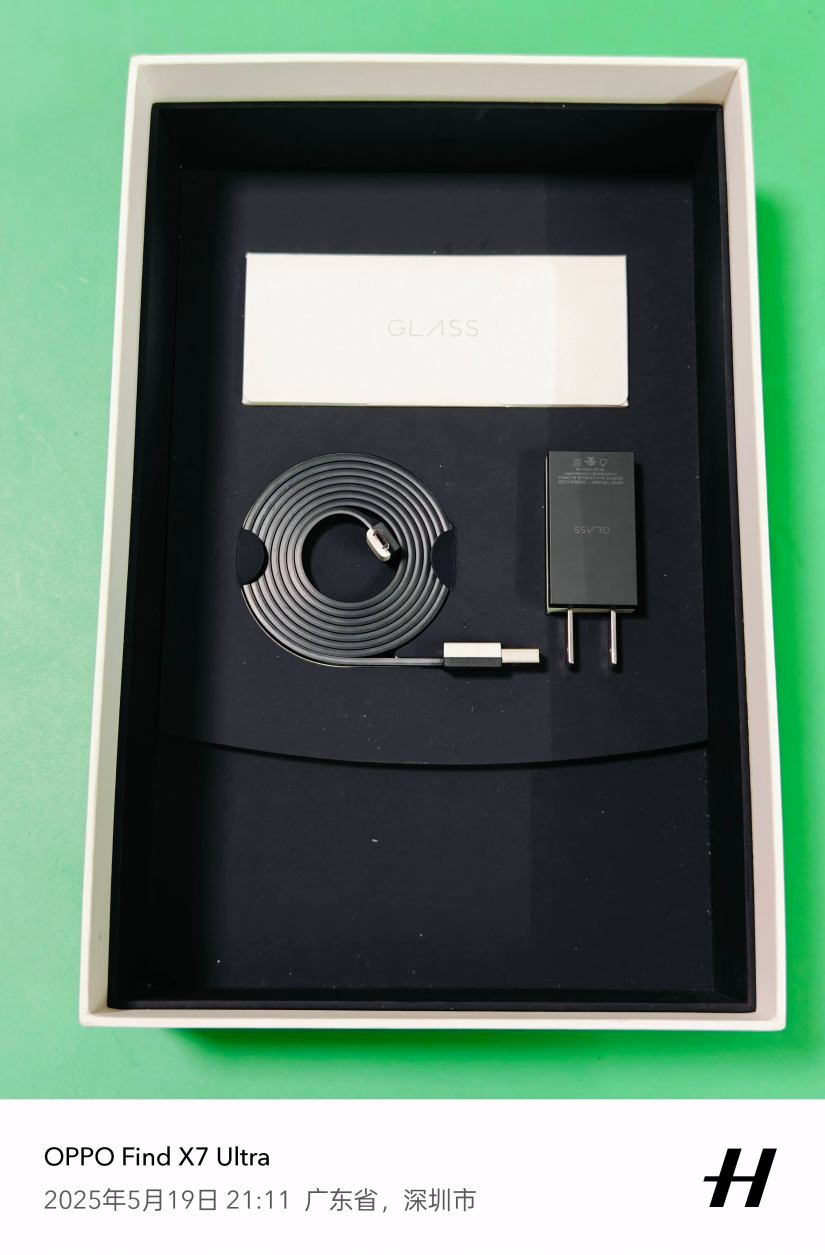
眼镜开机就能使用,试了触摸板、案件以及眨眼拍照这些交互都ok,拍照和录像也算正常,第二天就给卖家确认了收货,安全下车。
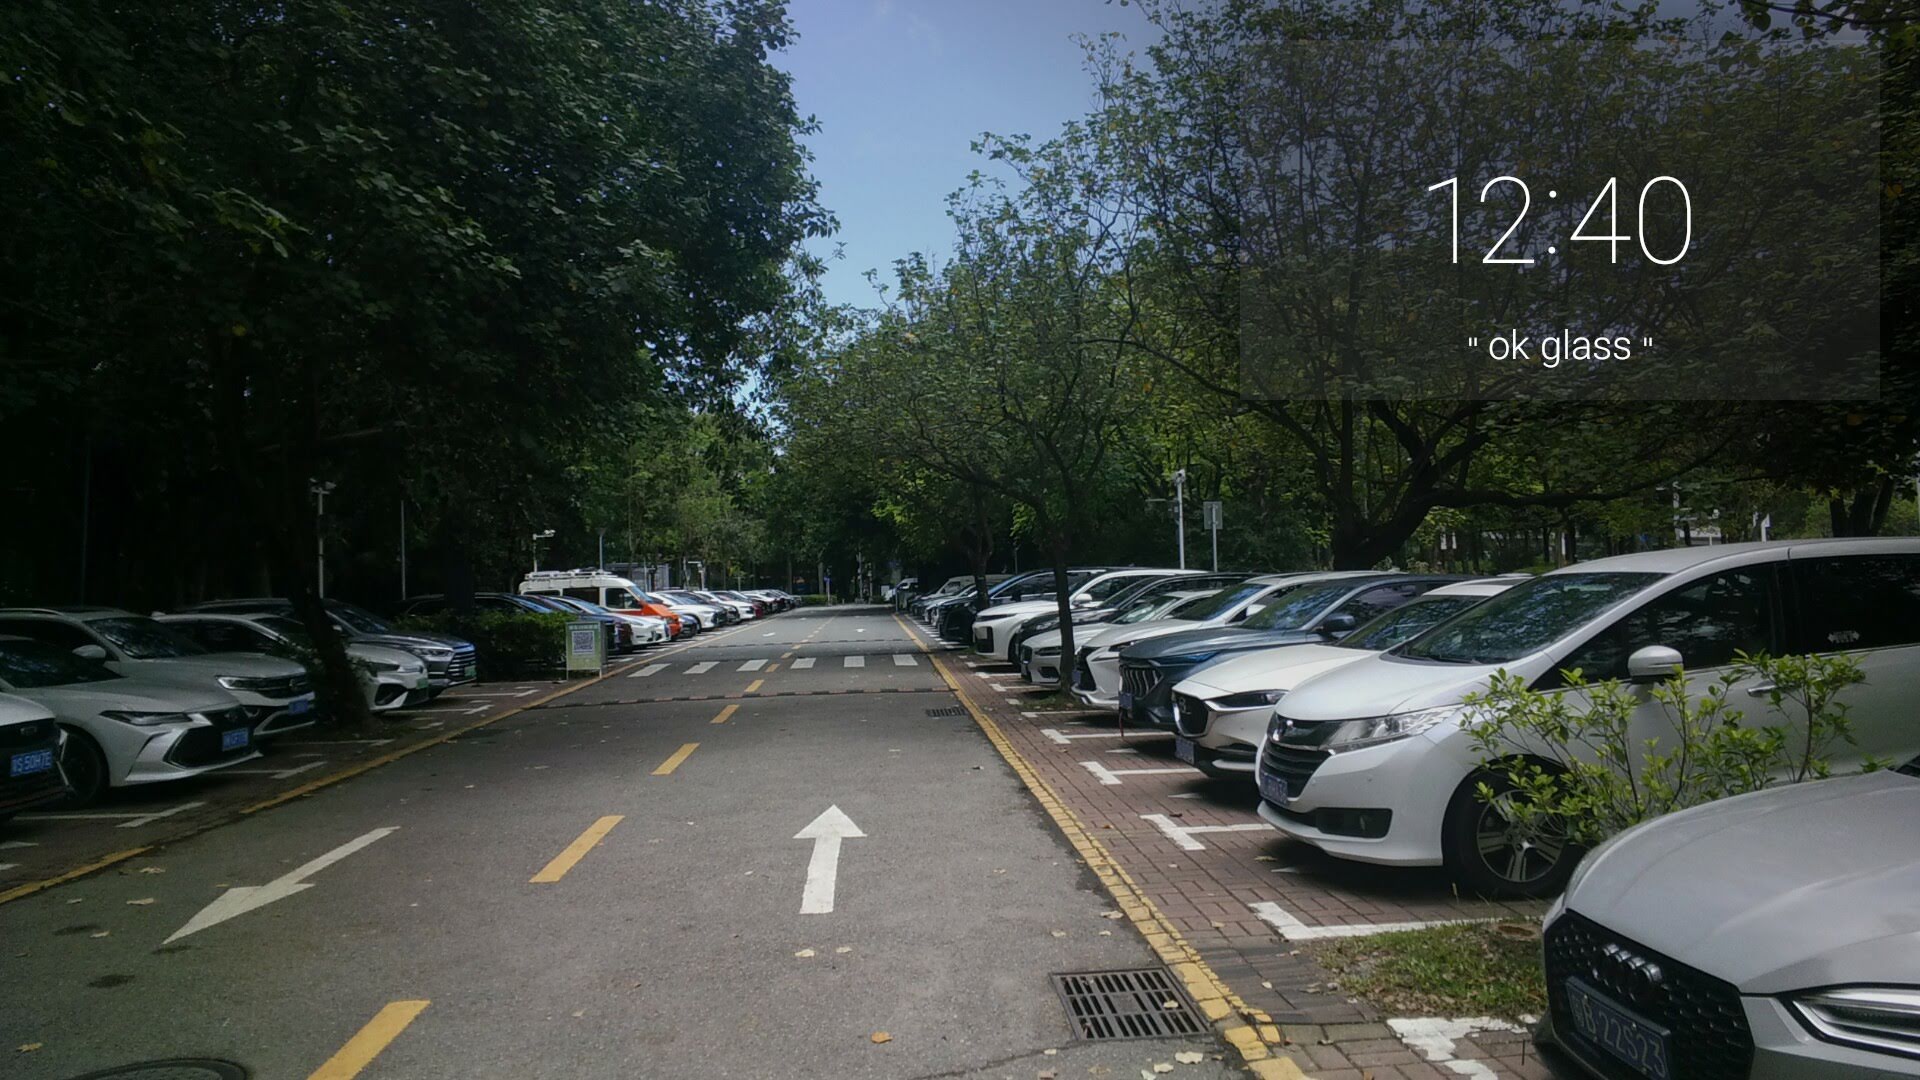
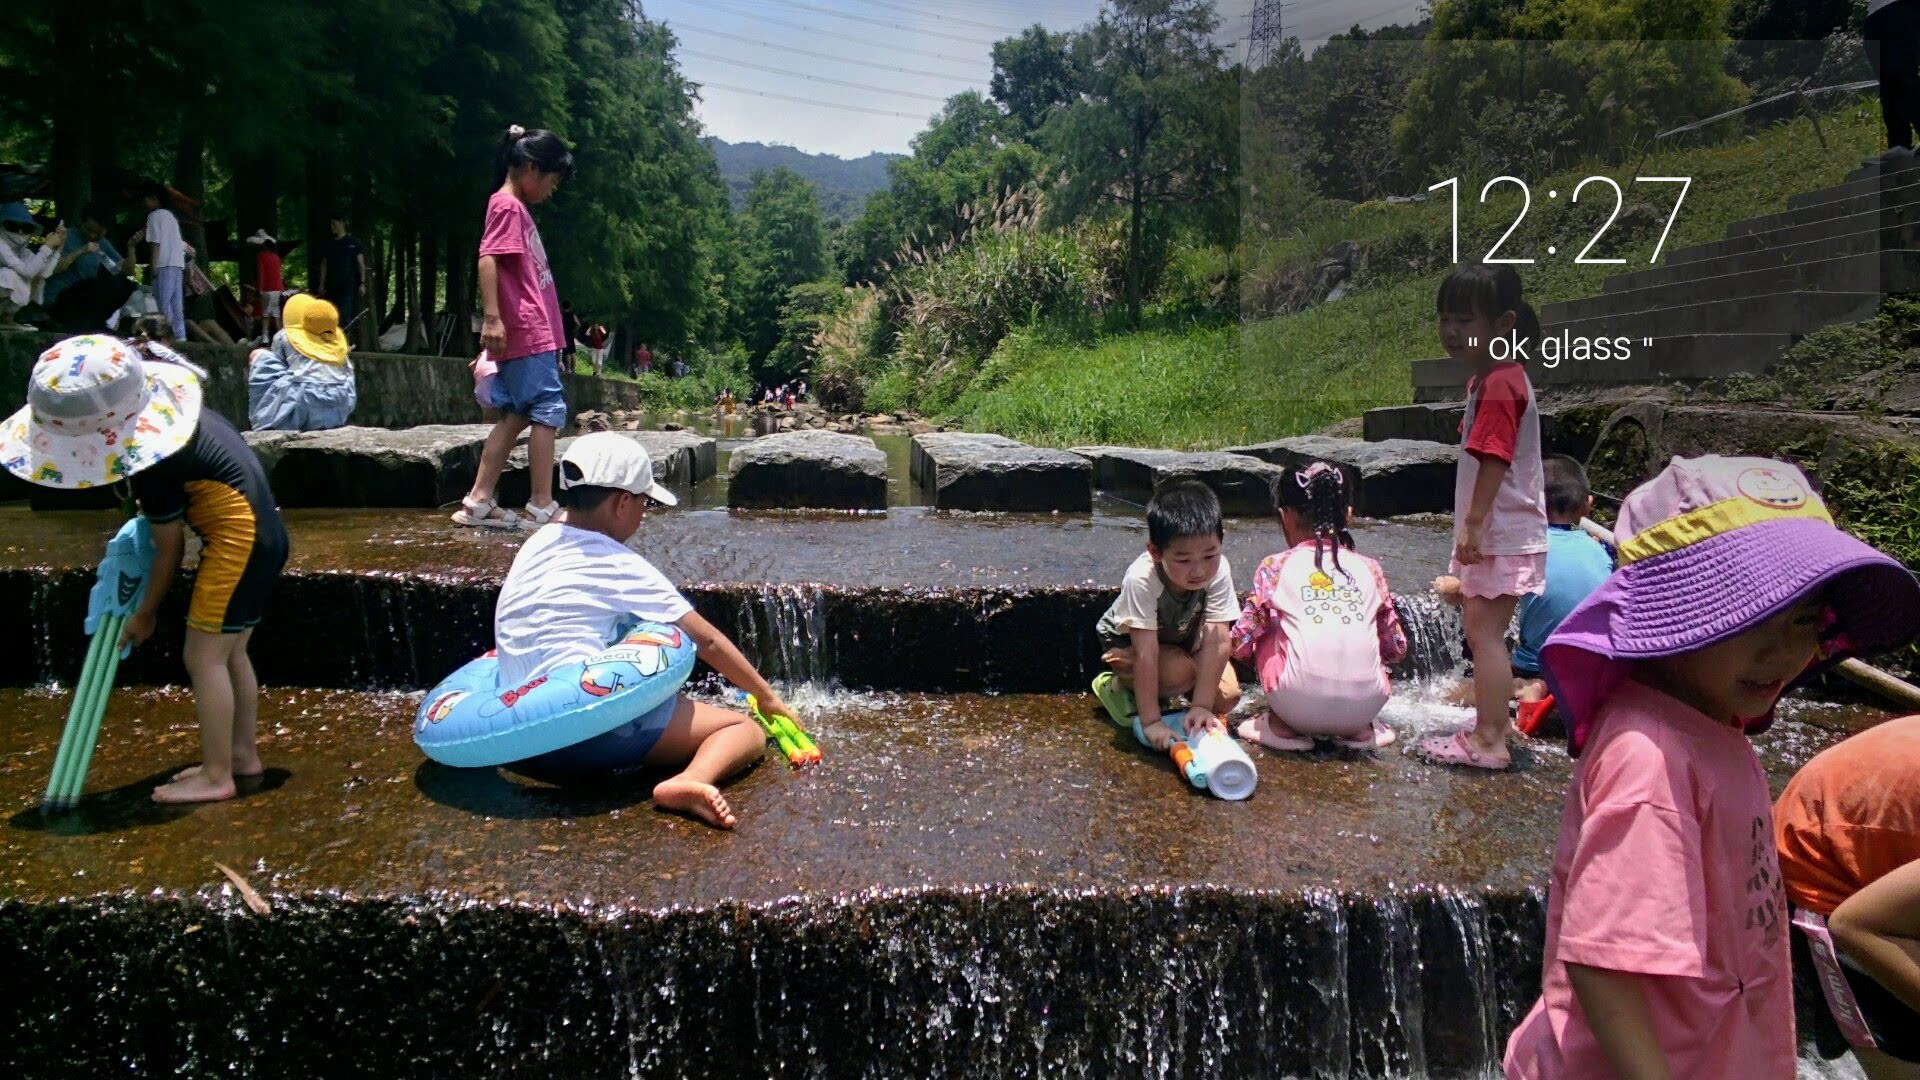
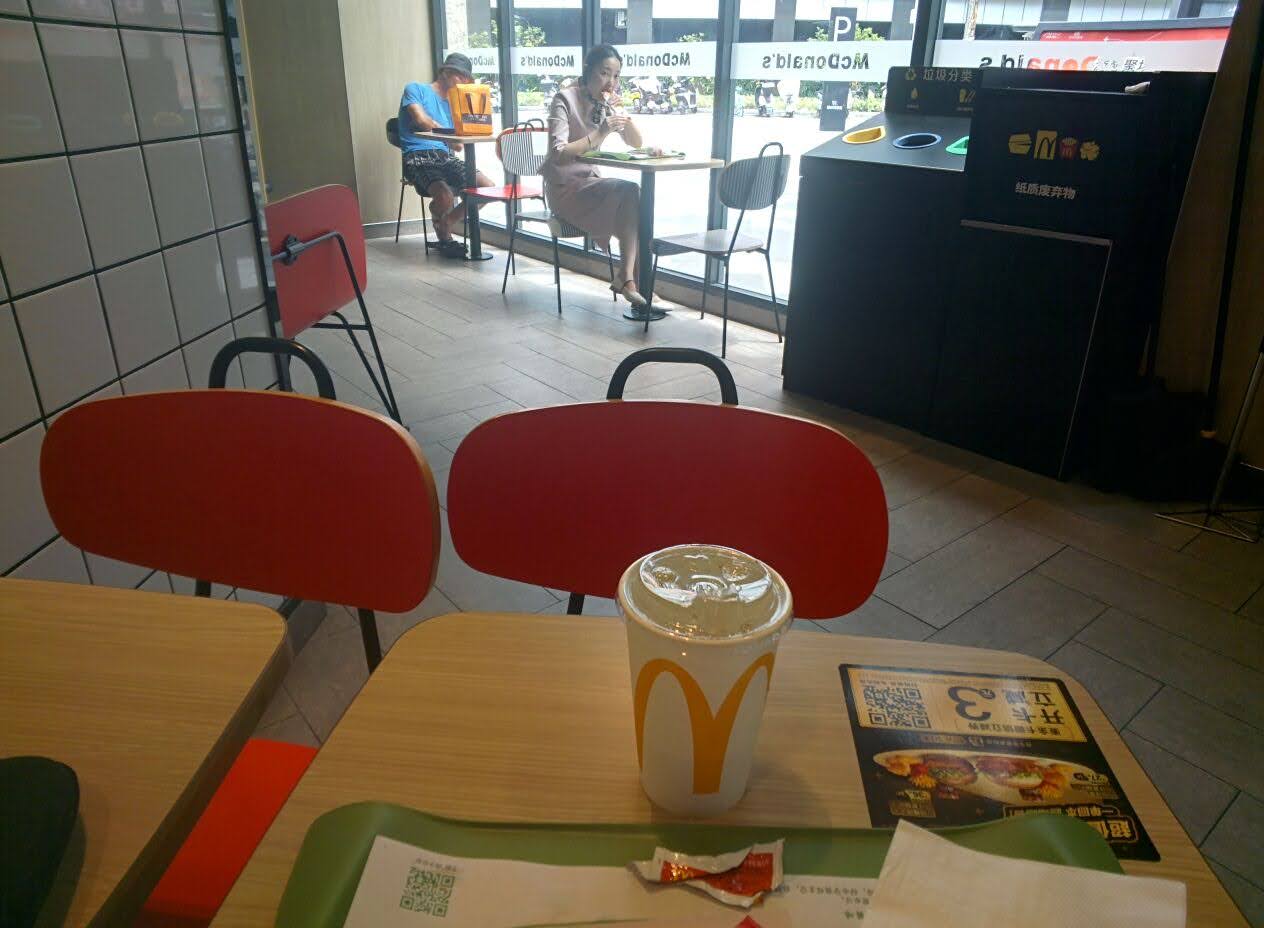
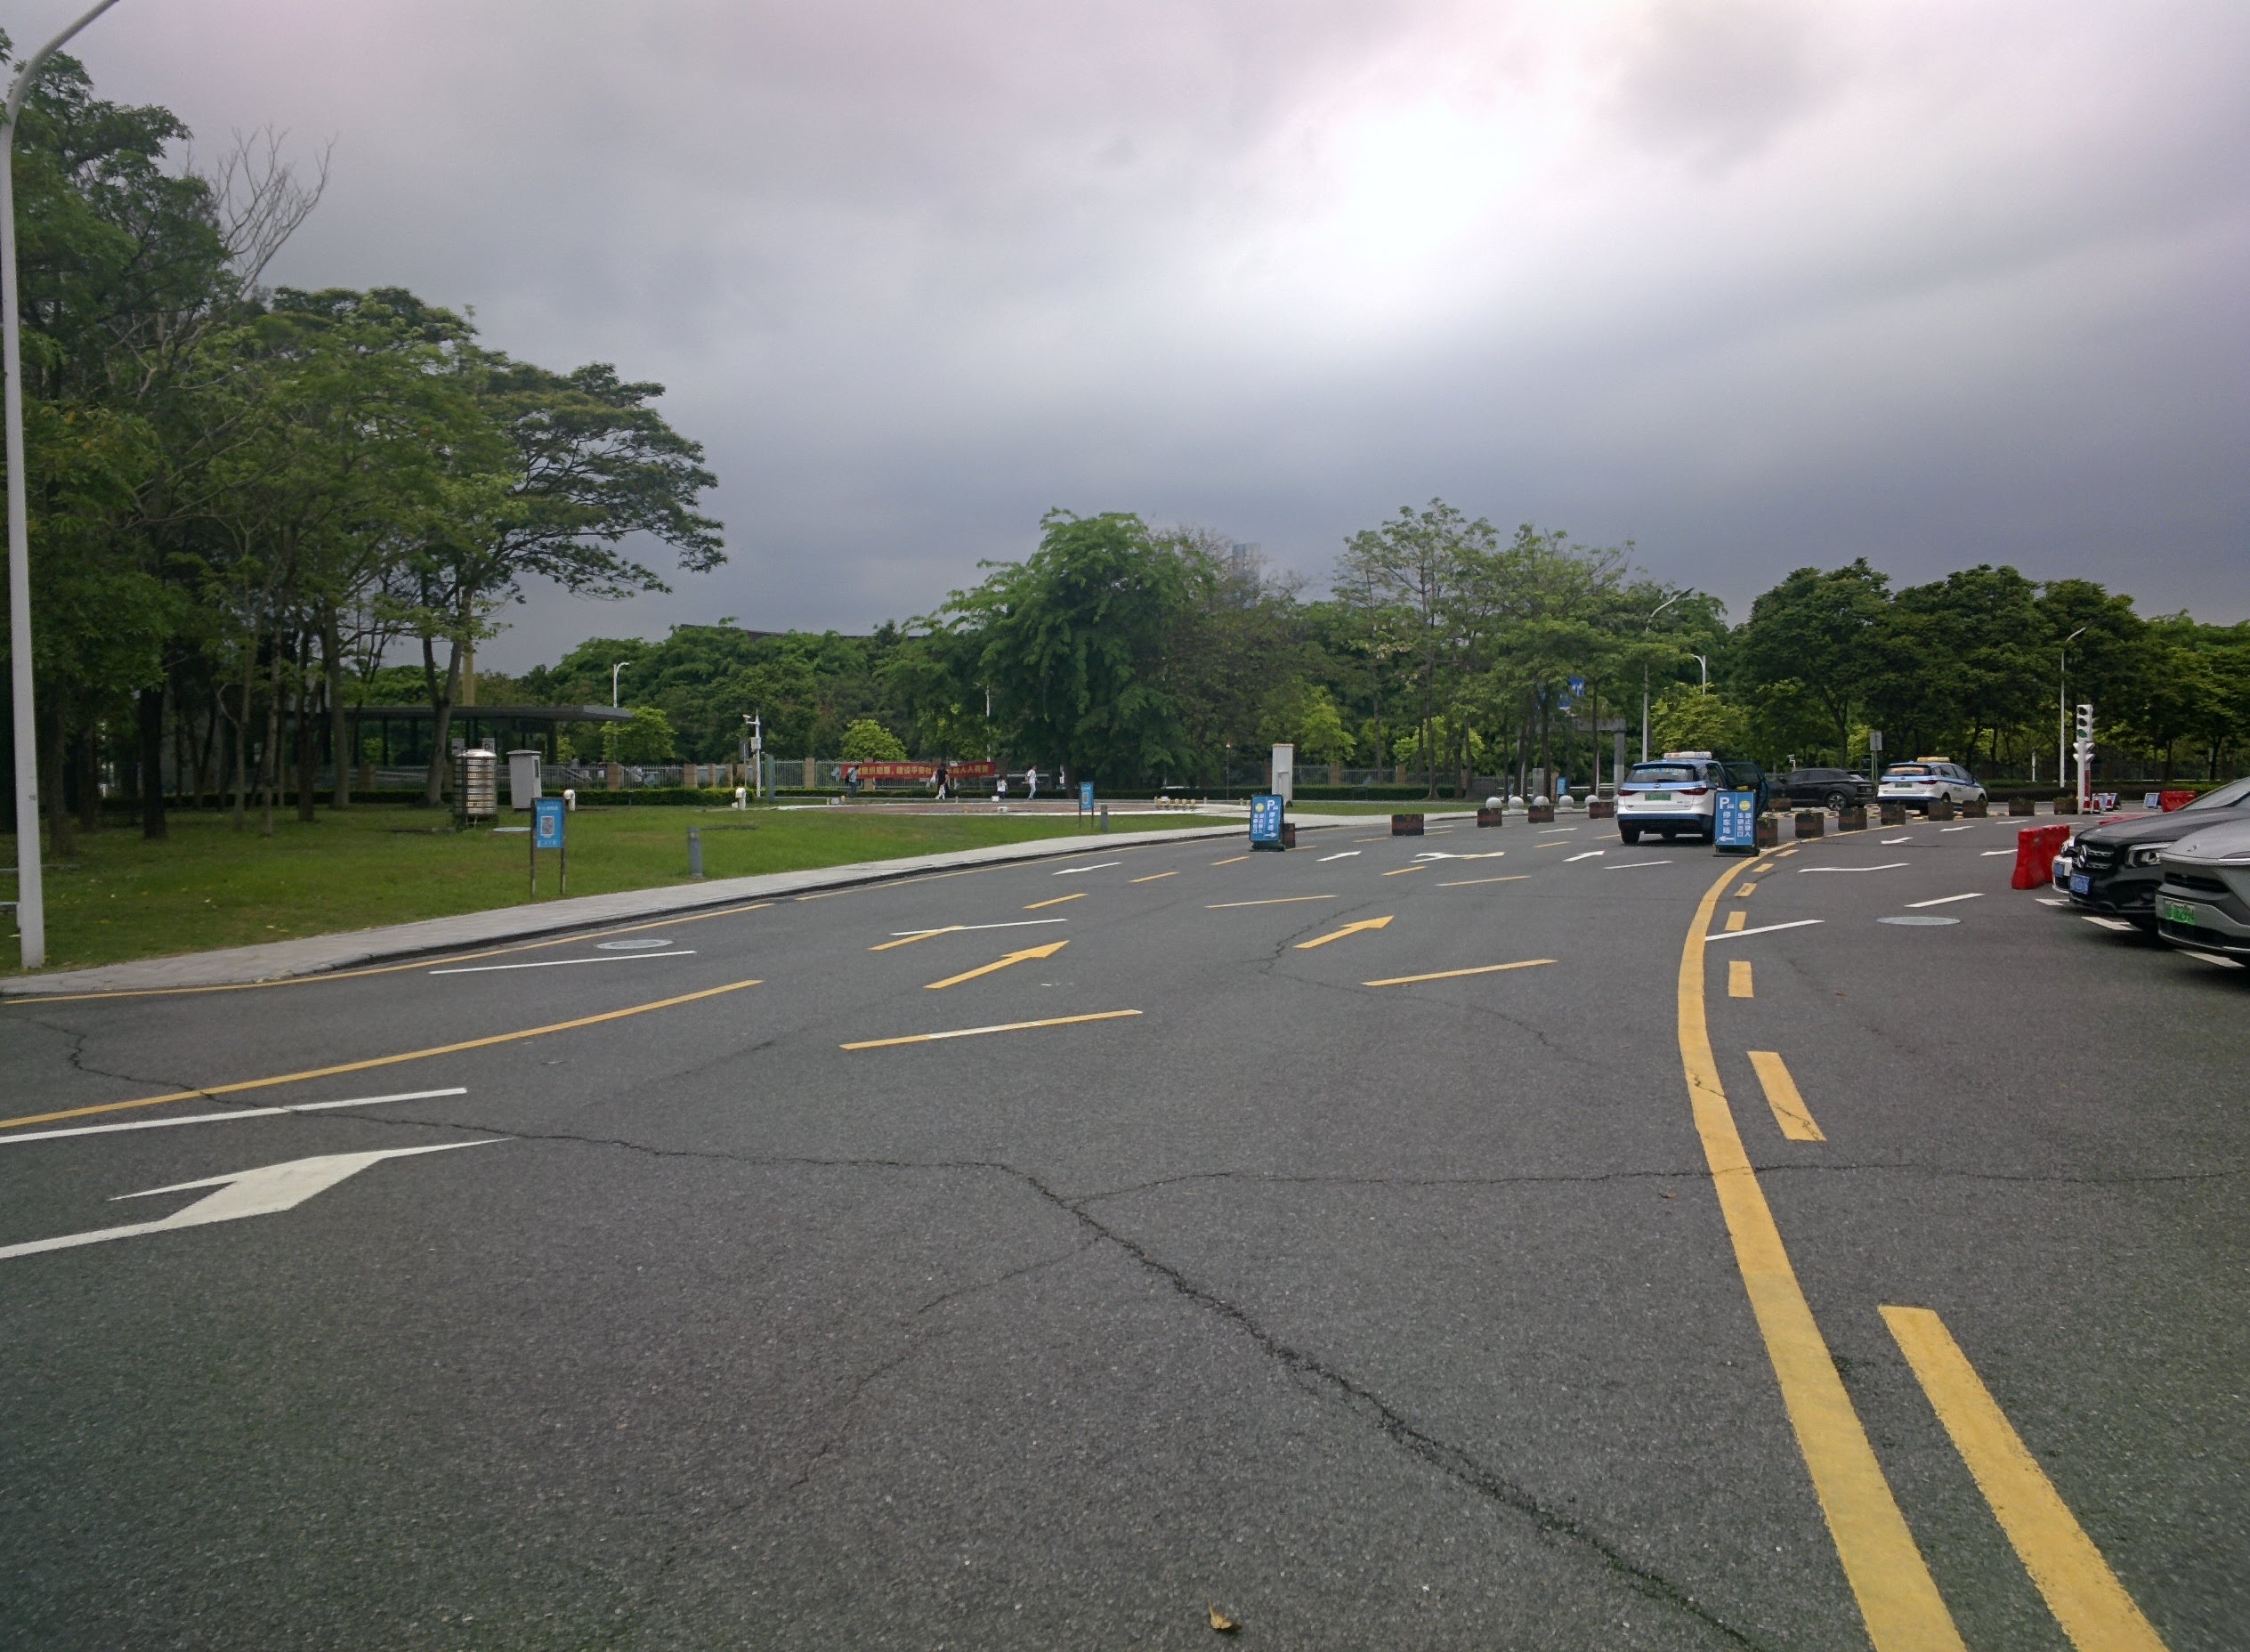
座机一样的拍摄效果
这也是可以预期的,毕竟是十几年前的数码产品,而且受限于这种特殊的头戴场景,体积和续航都是制约因素,在当年都算不上画面有多惊艳,如今看来就更是座机画质了。
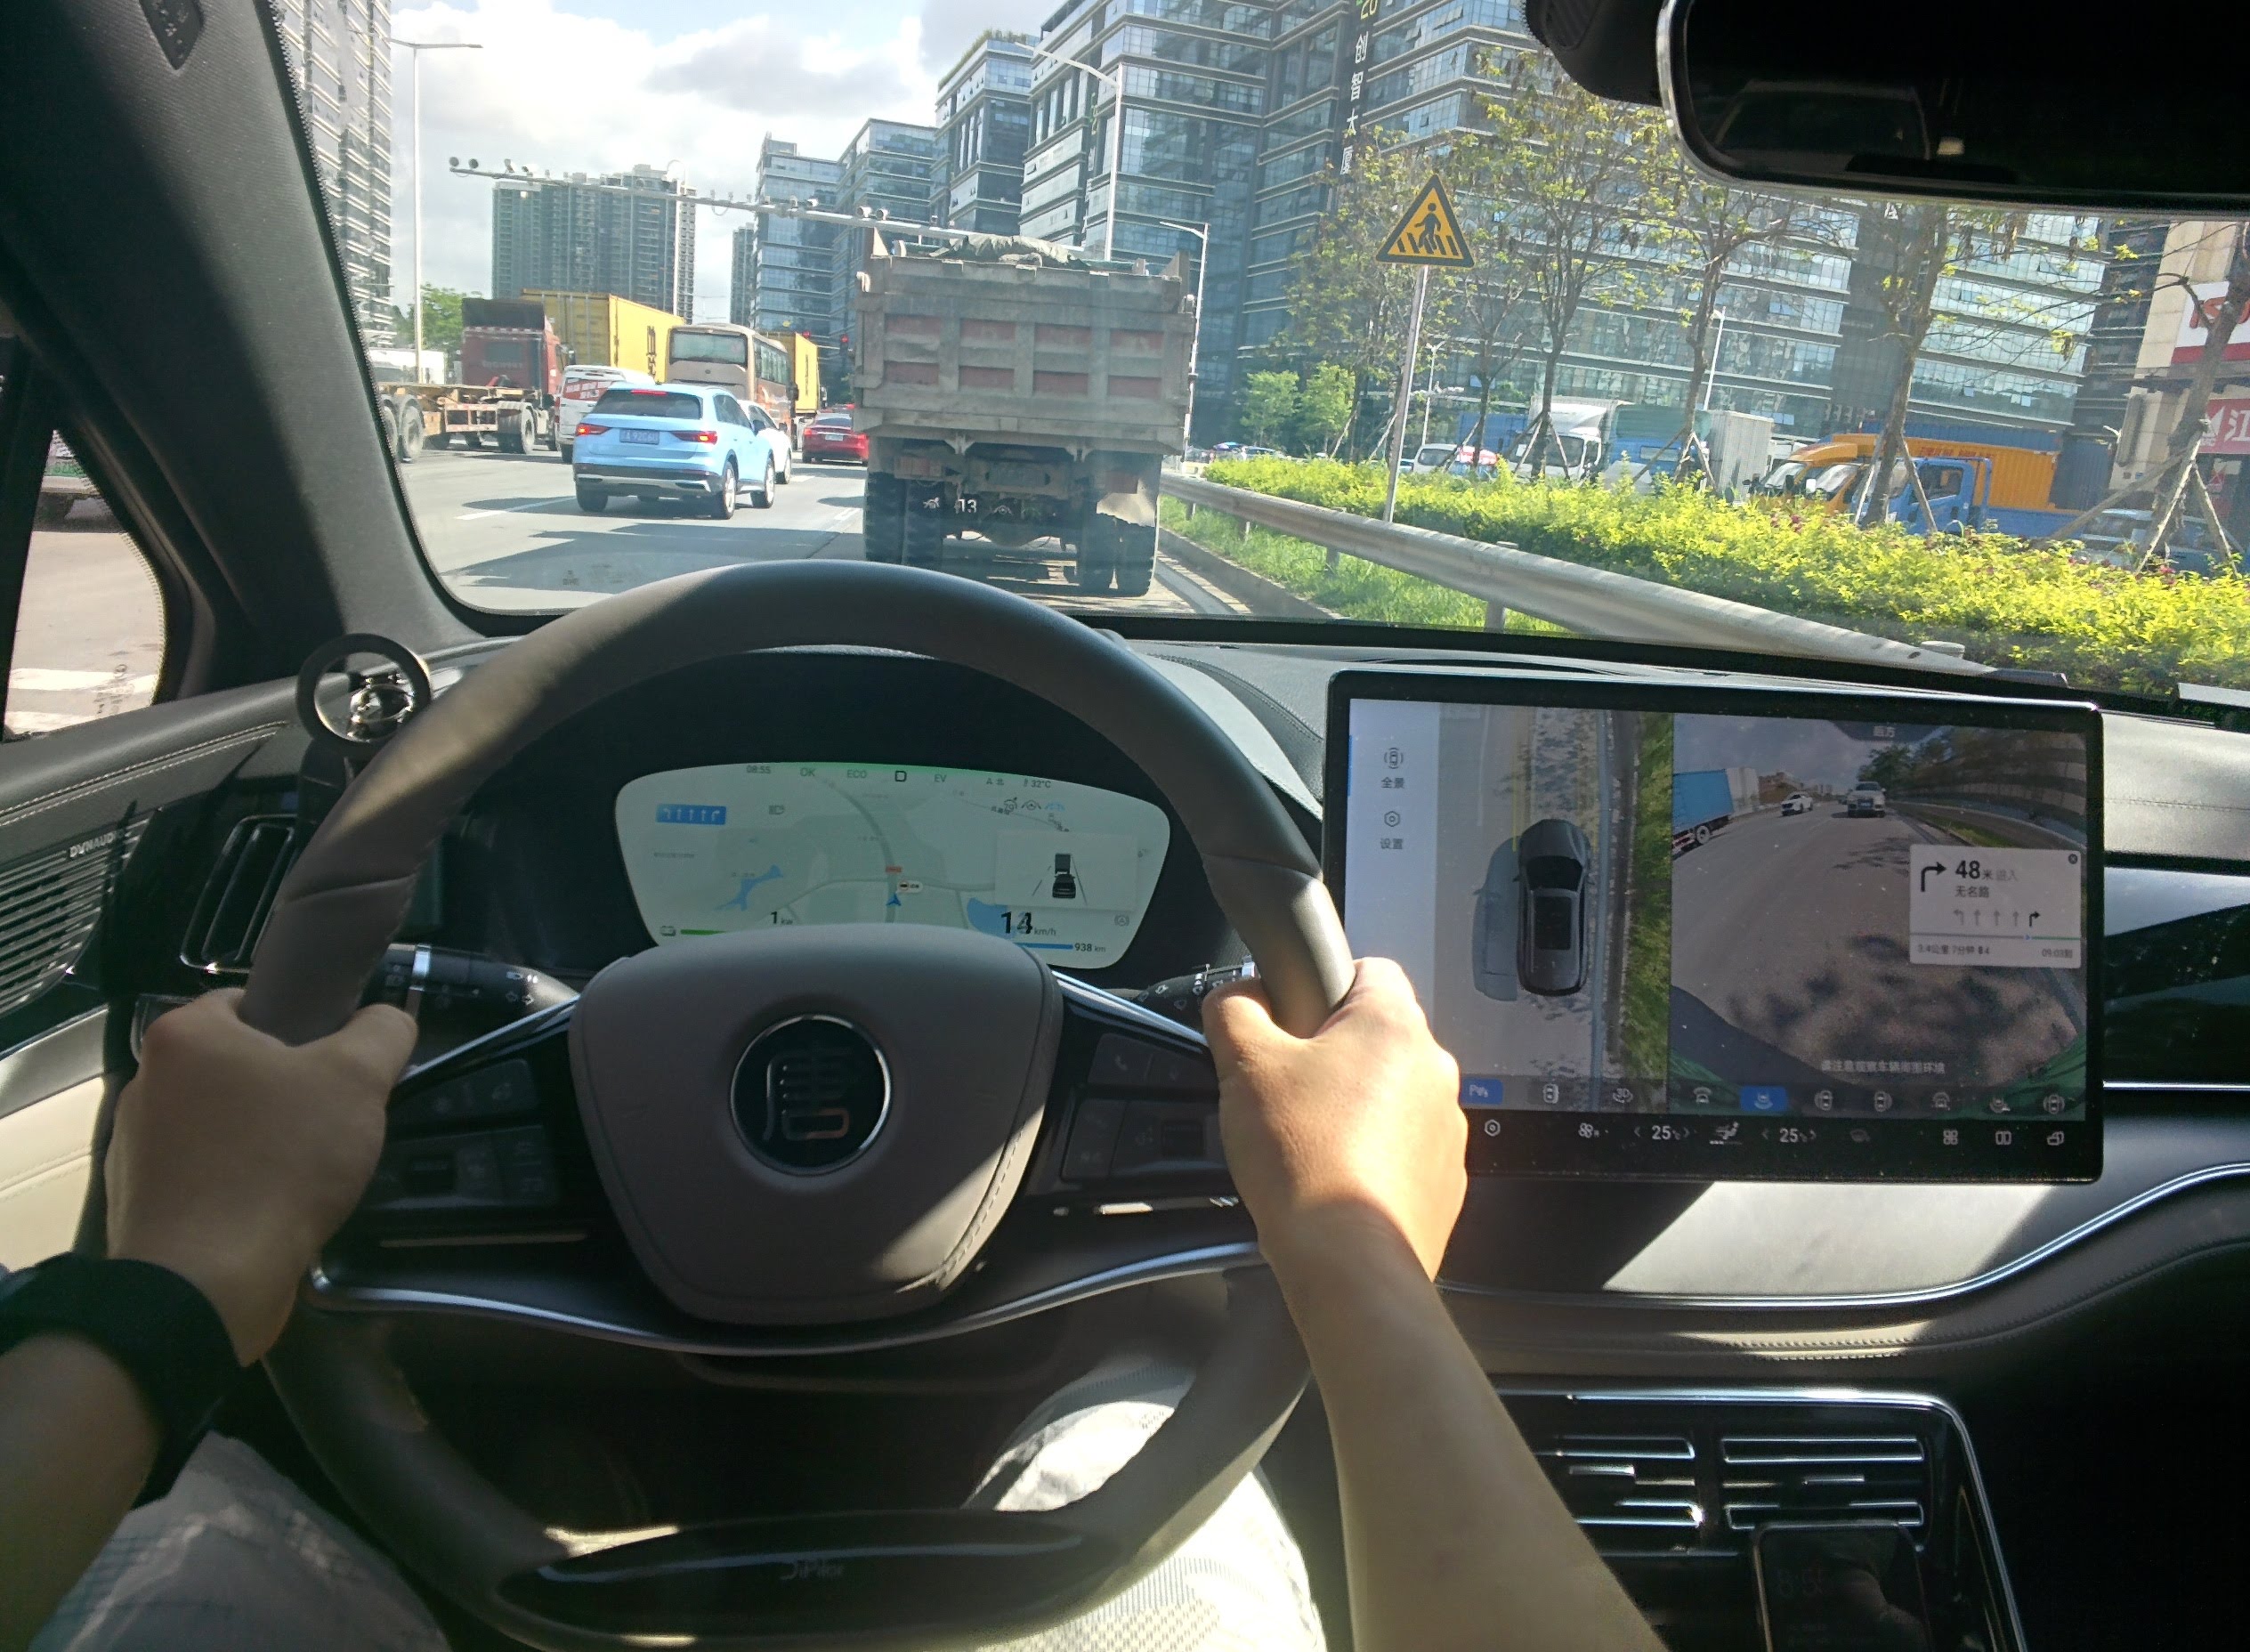
不要在驾驶时使用Google Glass,建议上车时就摘下,尤其千万不要在车辆行驶期间操作使用,包括眨眼操控,多多少少还是会分散一些注意力的,安全第一啊。
使用方面的问题
麻烦的一点是,谷歌已经彻底停止了对Glass的支持,连MyGlass这个app都无法完整使用了(第三方修改的app可以免登录验证)。
具体表现(这里说的是官方原版app):
- 谷歌Play商店已经无法直接搜到MyGlass应用,需要用电脑浏览器端的搜索引擎搜,才可以找到这个app的商店页面1,好在我有一台Pixel 4 XL还兼容,安装上去了
- 拿到手的眼镜系统是XE19.1版本,还可以与MyGlass通过蓝牙连接上
- 眼镜拍摄的照片经过压缩会自动传到Pixel手机上
- 可以screencast让手机显示眼镜的画面并通过手机屏幕交互操作
- 由于谷歌已经掐断了谷歌账户的授权,app会卡在授权账户的界面,虽然不影响上面两个功能,但也因此无法使用app的更多功能
- XE19版本的系统在界面里依然还有Google+(当年的谷歌社交网站,后面被砍,但保留了其中的网络相册功能,命名为Google Photos延续至今),但相关的自动备份功能已经残废无法使用,因此系统中的这些“废墟”既浪费交互空间也徒增耗电
尝试优化升级
优化1:升级到最终版固件XE24
于是翻查资料看看Glass能否升级固件优化下综合表现,看到了官方的帮助网站发布了最终版的软件升级公告和步骤,里面去除了登录谷歌账号的要求和联网到后端服务的功能,看来正是我要的。
搬运文字内容过来如下(以防哪天谷歌把页面也删了)
Final software update for Glass Explorer Edition
Glass Explorer Edition is receiving a final update that you will need to manually install. After February 25, 2020, this update removes the need and ability to use your Google account on Glass. It also removes Glass’ connection to backend services. This update is available now and should be installed so you can continue using your device without issues.
This update applies only to Glass Explorer Edition devices. It does not affect Glass Enterprise Edition devices.
Update your Google Glass device
- Download the signed image file.
- Unzip the file. You’ll see 3 files:
- boot.img
- recovery.img
- System.img
- Download platform-tools if you have not done it yet. Add platform-tools directory to the PATH environment variable. You can also execute adb and fastboot commands from inside the platform-tools directory in the command line on your computer.
- Connect the Glass Explorer Edition device to the computer with a USB cable.
- Reboot your device into fastboot:
- If you have debug mode enabled on your Glass device, execute the following command in the command line:
adb reboot bootloader - If you cannot enable debug mode on your Glass device, use Recovery Mode to reboot it into fastboot.
- If you have debug mode enabled on your Glass device, execute the following command in the command line:
- Verify the device is in fastboot by executing the following command:
fastboot devices # you should see the device serial no.
- Unlock flashing by executing the following command:
fastboot oem unlock # unlock the bootloader, repeat the step if necessary.
- Flash your device using the following commands:
fastboot flash boot boot.img  # flash partitions with factory images
fastboot flash system system.img
fastboot flash recovery recovery.img
fastboot erase cache  # optional, erase the cache and userdata partition
fastboot erase userdata
fastboot oem lock  # optional, only if you want to re-lock the bootloader.
安卓刷机我已经不是新手(从小米还只是MIUI ROM起家、雷军还只在幕后时就开始搞机),就连谷歌自家的Pixel也是刷过三个型号,应该不难。
没想到还是不出意外的出意外了。
adb devices能返回序列号,但是fastboot devices命令一直没有返回任何内容,翻查资料,也有人说在windows 7上就正常识别了,为此,我又把家里其中一台Thinkpad W530安装上了Windows 7(笔记本出厂是自带Win7的,键盘左下角有Win7贴纸,所以可以OEM激活),结果还是不行……
于是想会不会是Recovery的版本问题?于是按住顶部的Camera键不松开,在按一下内侧的Power按钮,持续按住Camera键10秒,进入Recovery界面,信息如下:
Android system recovery <3e>
XRW14B

Press the camera button to move between options
Hold the camera button to select an option

Reboot normally
Reboot into fastboot
Factory reset (erases all data on Glass)
Sideload from adb
出现了疑似版本号XRW14B,于是去谷歌搜,在一个Github项目页面3找到了一个列表:
| Android Version | Build | Build Number | Build Date | Bootloader | Version |
|---|---|---|---|---|---|
| 4.0.4 | XRR02 | 625737 | Apr. 3, 2013 | 0.3 | XE04.0-RC06 |
| … | … | … | … | … | … |
| 4.4.2 | XRW14B | 1279109 | Jul. 15, 2014 | 0.5 | XE19.1-RC06 |
| … | … | … | … | … | … |
| 4.4.4 | XRH35 | 5585826 | May. 22, 2019 | 0.5 | XE24-RC01 |
看来最终版本是2019年发布的XE24,而我的是2014年的XE19.1,在系统里Device info也对应上了。
于是想会不会是驱动的问题,仔细看了上面提到的官方的final software update步骤,均没有提到驱动的问题,看来这是一个突破口,而且是fastboot的驱动有问题。
再次仔细以XE24为线索搜索资料,终于在一篇之前打开过的讲OSX系统开篇的reddit帖子里看到了一个办法,按帖子的办法,我实操了一遍,终于解决了问题,其实很简单,比之前反复安装各个版本的驱动、安装Windows7简便多了,初次浏览到这篇帖子时有点浮躁,只看了开头说是在OSX环境下,一想我是Windows,就没看下去了,作者其实在第二段就转折了,OSX不能搞,就转去Windows下搞了。
简单来说就是:
- 下载最新的谷歌安卓设备驱动usb_driver_r13-windows.zip
- 解压后把里面的android_winusb.inf文件修改指定的内容后保存
- 把Windows启动到禁用驱动签名的模式下,安装改过的驱动
- fastboot devices就可以识别到序列号了
该reddit帖子的完整内容如下,以防删帖:
Google Glass Explorer Edition Final Update (XE24) Notes/Tips
While the official instructions from Google on how to update Glass to the XE24 update can be found at https://support.google.com/glass/answer/9649198?hl=en, I found them to be lacking and had a frustrating experience trying to use them to update Glass from OSX. Below are the modified steps I used to update to XE24.
The first thing I learned was that you cannot use OSX to perform this update. The OEM Unlock step did not work, nor did the system image step. Searching online found many reports that this process will not work under under OSX or Linux. Use a Windows workstation or VM.
Download the Platform-Tools from Google at https://developer.android.com/studio/releases/platform-tools. Extract. This folder will have adb and fastboot programs, which are needed for this update.
Download the Google Android USB Driver at https://dl.google.com/android/repository/usb_driver_r13-windows.zip. Extract. When your Glass is in Fastboot mode, you will need to have this driver installed in order for the fastboot tool to communicate with it.
Unfortunately Google Glass is not actually supported by this driver, so you will need to modify android_winusb.inf before you can update the “glass_1” driver. Delete the [Google.NTx86] and [Google.NTamd64] sections, replacing with the following:
[Google.NTx86]%SingleAdbInterface% = USB_Install, USB\Class_ff&SubClass_42&Prot_01%SingleBootLoaderInterface% = USB_Install, USB\Class_ff&SubClass_42&Prot_03
[Google.NTamd64]%SingleAdbInterface% = USB_Install, USB\Class_ff&SubClass_42&Prot_01%SingleBootLoaderInterface% = USB_Install, USB\Class_ff&SubClass_42&Prot_03
Download the Google Glass XE24 (FINAL) Update Files from https://storage.googleapis.com/support-kms-prod/bTh25b2gcZx5f7apQdJU3lULYTTBoZDHqdsr. Extract to the same directory as the platform_tools.
Delete the .android folder in C:\Users\<Username>\.android (if it exists).
Disconnect any USB Cables from your Google Glass, Power Down, and then follow the instructions at https://support.google.com/glass/answer/6058759?hl=en to put your Google Glass into Recovery Mode. Press the camera button once to highlight the “Reboot in Fastboot” option and then hold down the camera button to select it. The screen will go black when it reboots into Fastboot. (Note: These instructions do not seem to work if you have a USB cable connected.)
Connect the cable to both your computer and Glass. Wait about 30 seconds and then try to verify connection by typing “fastboot devices” at the command prompt from the platform-tools directory.
If “fastboot devices” does not list your Glass device, go to Device Manager and look for the “glass_1” device.
- If you do not have a glass_1 device in Device Manager, return to the “Reboot in Fastboot” step and try again. It is a little finicky to get it into Fastboot. It is also hard to tell if it is in this mode, or if Glass just powered off.
- If it has a “glass_1” device, but there is a yellow triangle next to it, it will need you to update the drivers. Unfortunately the driver is not signed, so you will need to follow the instructions at this website if you are using Windows 10 and getting errors about unsigned drivers: https://www.howtogeek.com/167723/how-to-disable-driver-signature-verification-on-64-bit-windows-8.1-so-that-you-can-install-unsigned-drivers/. (After setting your computer in “Test Mode”, you may need to reboot before it will let you install the driver.)
After installing the driver, you will need to repeat the steps to put your Glass into Fastboot mode, then repeat the “fastboot devices” step to verify connectivity
When your Glass is visible using “fastboot devices”, unlock the bootloader with the following command: fastboot oem unlock. It should take less than a minute. (Note that it may instruct you to repeat the command a second time.)
After that completes, enter the following:
fastboot flash:raw boot boot.img
When that completes (less than a minute), enter the following:
fastboot flash system system.img
When that completes (less than five minutes), enter the following:
fastboot flash recovery recovery.img
This will also take less than five minutes. Then:
fastboot erase cache
Finally:
fastboot erase userdata
Disconnect the cable and power down Glass by holding the power button for about 15 seconds.
Reboot Glass. When it starts, you should see “Updating Glass”. Then the update will be complete!
To connect to Wifi, use a Wifi QR Code Generator website like https://qifi.org/ to generate a QR Code to scan with Glass. Unfortunately, there really is no need to do this initially because post-update all you can do is take pictures and videos. Everything that needed network connectivity appears to have been removed.
The time zone will default to Pacific time. I had not been able to find a way to change this with the standard boot.img. However, If you flash the boot with the rooted boot.img from https://developers.google.com/glass/tools-downloads/system and connect with adb shell, you can use the following command to change the Time Zone: setprop persist.sys.timezone "America/Detroit". Then issue the reboot command. See http://en.wikipedia.org/wiki/List_of_tz_database_time_zones for a list of time zone options. (Kudos to u/H_CONC for the suggestion!)
修改inf文件后,对这个inf文件点鼠标右键选择安装,Win11默认是会阻止的,提示“文件的哈希值不在指定的目录文件中。此文件可能已损坏或被篡改。”
于是继续搜这个问题,在CSDN的一篇博文5找到一个有效的解决办法,就是把Windows高级启动方式重启在启动菜单的【疑难解答】>【高级选项】>【启动设置】里选择“禁用驱动程序强制签名”,系统重启再次进入Windows后,就可以在安装inf文件时选择“始终安装此驱动程序文件”来强行安装修改过的驱动了。
注意,安装驱动前,先不要连接眼镜到电脑。
安装完驱动后,把眼镜通过自带的Micro USB线连接到电脑,此时在【设备管理器】里应该就会出现如下Android Device:
- Android Bootloader Interface
在platform-tools文件夹里空白处右键点击执行【在终端打开】,输入cmd再回车,然后执行fastboot devices,就终于出现序列号了:
这个修改过且实测Win11可用的驱动文件包,可以在这里下载6,当然建议是自己按上面的教程替换保存,这里推荐使用Notepad++7,非常适合编辑代码类文本文件。
然后就把官方final software update页面里提供的固件包下载解压,把其中的三个img文件复制到platform-tools文件夹下:
- boot.img
- recovery.img
- system.img
接下来就按官方final software update页面的步骤,依次执行下面几条命令,完成完成后重启眼镜就可以了:
- fastboot oem unlock
- fastboot oem unlock
- fastboot flash boot boot.img
- fastboot flash system system.img
- fastboot flash recovery recovery.img
- fastboot erase cache
- fastboot erase userdata
从fastboot devices到最终完成的完整代码过程如下:
Windows PowerShell
版权所有(C) Microsoft Corporation。保留所有权利。

安装最新的 PowerShell,了解新功能和改进!https://aka.ms/PSWindows

PS D:\platform-tools> cmd
Microsoft Windows [版本 10.0.22631.5335]
(c) Microsoft Corporation。保留所有权利。

D:\platform-tools>fastboot devices
015DB76此处打码         fastboot

D:\platform-tools>fastboot oem unlock
(bootloader) Warning: Unlocking your device will void your warranty
(bootloader) and erase your personal data from the device.
(bootloader) Run "fastboot oem unlock" again to confirm.
(bootloader) Device still locked.
OKAY [  0.009s]
Finished. Total time: 0.010s

D:\platform-tools>

D:\platform-tools>fastboot oem unlock
(bootloader) Erasing personal data. This could take a while...
(bootloader) Erasing cache...
(bootloader) Erasing userdata...
(bootloader) Unlocking...
(bootloader) Device unlocked!
OKAY [  2.209s]
Finished. Total time: 2.209s

D:\platform-tools>

D:\platform-tools>fastboot flash boot boot.img
Warning: skip copying boot image avb footer (boot partition size: 0, boot image size: 5611520).
Sending 'boot' (5480 KB)                           OKAY [  0.238s]
Writing 'boot'                                     OKAY [  0.927s]
Finished. Total time: 1.630s

D:\platform-tools>fastboot flash system system.img
Warning: skip copying system image avb footer due to sparse image.
Sending 'system' (627201 KB)                       OKAY [ 26.770s]
Writing 'system'                                   OKAY [ 76.498s]
Finished. Total time: 103.337s

D:\platform-tools>fastboot flash recovery recovery.img
Warning: skip copying recovery image avb footer (recovery partition size: 0, recovery image size: 6344704).
Sending 'recovery' (6196 KB)                       OKAY [  0.272s]
Writing 'recovery'                                 OKAY [  1.018s]
Finished. Total time: 1.319s

D:\platform-tools>fastboot erase cache
Erasing 'cache'                                    OKAY [  0.397s]
Finished. Total time: 0.835s

D:\platform-tools>fastboot erase userdata
Erasing 'userdata'                                 OKAY [  1.044s]
Finished. Total time: 1.052s

D:\platform-tools>
如果要把OEM锁重新开启的话,就再执行下面这条命令就可以了:
- fastboot oem lock
升级之后
需要说明下,升级后的画质之类没有变化,基本就真的只去掉了谷歌联网的东西,还有一些别的的情况:
- 时区改变了,比东八区慢8个小时,而且即使WiFi联网后的时区也不会根据WiFi所在地区而自动调整,Reddit帖子里有教程(实际只需要使用修改版MyGlass app连接手机就能自动同步为手机时间)
- 升级后将无法连接MyGlass app,这意味着无法再使用screencast在手机端查看和操纵眼镜里的画面
- 由于固件去掉了谷歌服务相关的功能,连接Wi-Fi也因此没什么必要了,但似乎也没法直接关掉Wi-Fi来省电
- 反而有偶尔的卡顿和拍摄失败的情况
优化2:解锁BL并刷入第三方Recovery
如果要使用adb shell命令,或者遇到adb命令返回closed的情况,可以考虑在刷了官方root过了的boot.img后刷入第三方的recovery.img(例如CWM的CWM-based Recovery v6.0.4.8版本),也就是再执行上面刷机的刷recovery.img步骤,然后在glass进入bootloader界面后连接USB就可以执行adb命令了。
以下是CWM的Recovery界面信息和选项:
CWM-based Recovery v6.0.4.8

- reboot system now
- install zip
- wipe data/factory reset
- wipe cache partition
- backup and restore
- mounts and storage
- advanced
官方固件包和官方root过的boot
谷歌官方在自己的官网9提供了Glass Explorer Edition的各版本固件包,还提供了各版本适用的已经有root权限的boot.img,需要的赶紧下载备用,建议下载拿到手时机器的固件版本和XE24版本的文件。
在上述官网页面,官方还提供了一些可能会用到的命令:
To gain root shell access on Glass, run the following commands using the rooted bootloader:
$ adb reboot bootloader  # enter fastboot mode, takes 10-15 seconds
$ fastboot devices  # verify device is in fastboot, should see its serial #
$ fastboot oem unlock  # unlocking erases all data, you are prompted to run this command twice to be sure
$ fastboot flash boot boot.img  # gain root shell access with the rooted bootloader
$ fastboot reboot  # reboot the device
$ adb root  # start adb as root
$ adb shell  # access the shell as root
To flash Glass back to factory specifications, extract the desired factory system image package and run the following commands:
$ adb reboot bootloader  # enter fastboot mode
$ fastboot devices # verify device is in fastboot, should see its serial no.
$ fastboot flash boot boot.img  # flash partitions with factory images
$ fastboot flash system system.img
$ fastboot flash recovery recovery.img
$ fastboot erase cache  # optional, erase the cache and userdata partitition
$ fastboot erase userdata
$ fastboot oem lock    # optional, only if you want to re-lock the bootloader.
优化3:安装修改版MyGlass并同步时区
如前所述,安卓客户端MyGlass的官方版已经无法连接XE24固件,但网上已经有人做了修改版的MyGlass,通过它连接并匹配上Glass XE24版后,能实现3个功能:
- 同步时间——在连接上蓝牙后会自动把Glass的时区与时间同步更新为与手机一致(但小遗憾是无法同步12/24小时格式),同步一次即可
- 连接WiFi——协助Glass搜索WiFi并在手机里输入密码,这样就不用使用蓝牙键盘连接Glass输密码
- 同步照片到手机上——这个实测没有作用,但考虑到官方版app与XE19.1固件的同步也只限于同步照片(且还是压缩过并去掉了EXIF信息),这个功能也并不太期待,还是用USB线传输更直接快速
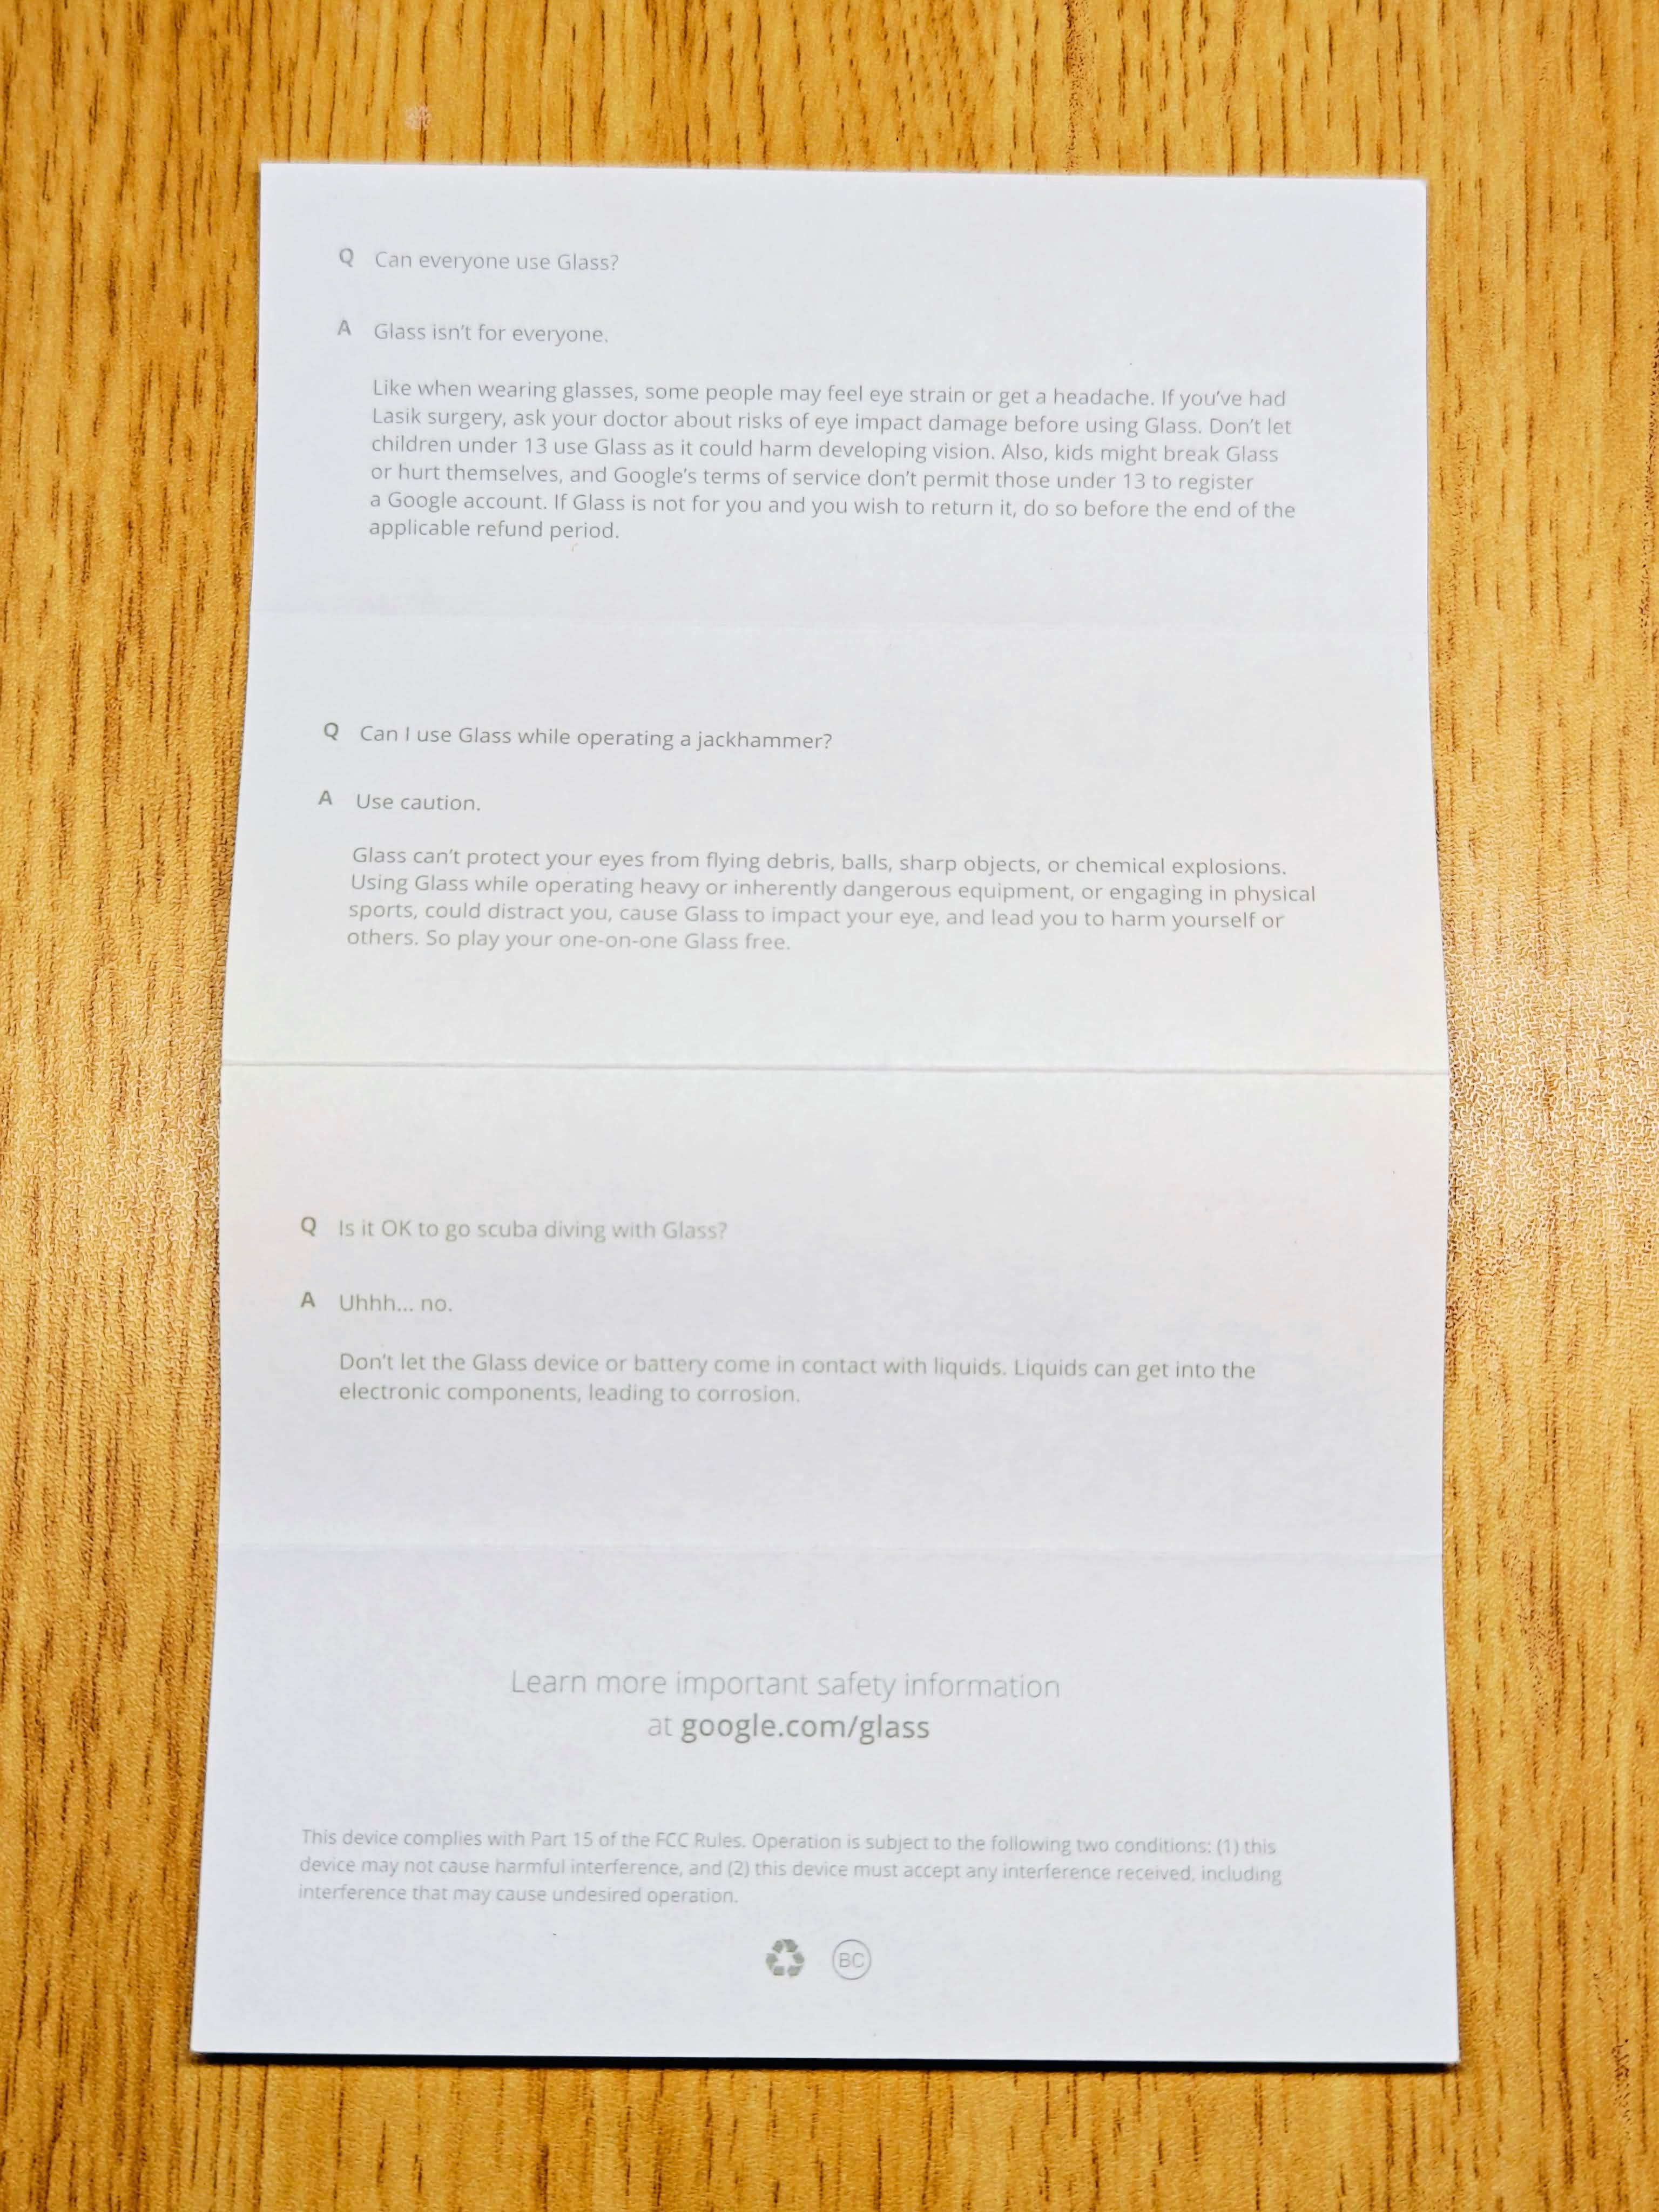
顺便发下包装里的Q&A:

复盘用到的工具:
- Windows电脑:Win 7 ~ 11均可,用于通过USB线操作Glass
- Platform tools:也就是谷歌ADB软件,用来执行发到Glass的代码和刷机
- 修改版Glass驱动程序:没有它就无法让Windows识别ADB和fastboot模式的Glass
- Glass最终版XE24固件包:用官方版即可
- 修改版MyGlass app:用它可以实现时间同步、屏幕投屏到手机操作、帮助Glass连接WiFi
- 官方解锁的boot:可选项。刷入已解锁的bootloader就可以刷第三方固件了
- 第三方Recovery:可选项。CWM版Recovery提供了比原厂更多的功能,包括adb shell功能
优化后的总体评价:
- 做工不错,钛合金的镜框10(以至于有一次去医院放在背包里过安检仪器时侧面看还被误认为是金属刀具),整体简练高端,即使在2025年看也颇有未来科技感,尤其是那个显示镜,有点赛亚人眼镜的感觉
- 显示镜可以小角度水平向内外侧调整,以便画面投影(类似投影仪与幕布的关系)在合适的范围,注意不要磨损左侧的镀膜了
- 内置麦克风可以响应Ok, Glass的语音唤醒命令,但要在亮屏情况下才行,麦克风的效果较为一般,车内如果有播放正常音量的音乐或者导航在语音播送提醒时,Glass就很难听到语音指令,录制视频时的声音也没有降噪等优化效果
- 内置了扬声器能发出提示音,据称是骨传导方式,但使用眼镜时实际收听语音不多,一般是回放录制的视频时,而它续航有限,用它通过蓝牙进行语音通话的机会非常有限
- 日常操作主要通过设备右侧主体顶部的相机快门键和外侧面触控板进行,快门键稍微适应就能很方便的摸到,按一下放开就是立即拍照(即使是熄屏状态),拍照完成后回看停留的几秒钟内可以使用点击或语音命令执行make vignette就可以把上一个界面作为半透明的小图放在右上角保存(适合把主页时间添加上去相当于时间水印,官方举例是把导航画面放上去),如果长按快门键就是录制视频;触控板的操作包括点击和上下前后滑动,这方面给用户的准确度信心就不太足了,尤其是下滑【返回】或【退出】时有不小概率会操作失败,需要多摸索滑动速度;内侧的电源键一般只在开关机时用得到
- 续航表现一般,但也是情理之中,实测官方XE24版本固件,满电开机5分钟左右后录制一段31分钟不间断的视频(1.16GB),过了几分钟在拍摄了三张照片,还剩12%电量,已经算能接受了,毕竟如果之前的用户没有换过电池,那过了十二年还有这个表现就已经不错了,因此想要入一个二手Glass就看具体机子和电池的状况了
- 眼镜的充电和数据接口是底部的MicroUSB接口,在2025年来说已经是很过时的接口了,意味着现在大部分手机的充电数据线都无法连接它,需要专门给它配一条线
- 在不太凉快的环境下,录制视频容易引发眼镜的过热提醒,因此不适合在夏天户外长时间曝晒下使用
- 内置存储可用容量12GB,考虑到每次满电的续航在半个多小时,可以充电时顺便把资料剪切出来保存(建议弄个NAS或者Pixel 4 XL)
- 官方版的app已经不再能重新匹配XE24的固件,因此只能用USB线连接读取拍摄的照片和视频,但可以使用第三方修改过的app11实现免验证继续使用(感谢QQ群友),并且App连接手机后自动就同步了手机时间,解决了刷完XE24后时间慢8个小时的问题,实测观察有个细节:连接同步以后,新拍摄的照片的EXIF信息中的拍摄日期里的时分就会立即是准确的当地时分,但照片的文件名里的时分会需要Glass重启后才会也变成和当地时分一致
- 佩戴很稳固,慢跑锻炼时眼镜也不会松动(但是拍摄画面还是没法防抖)
- 本想买灰色版最低调,也好提高使用率,但是在闲鱼浏览了好几圈,最后成色和价位最优的是这个天蓝色的版本,没想到真的很醒目,导致大部分出门的时候都不太好意思佩戴它
- 很少使用它的另一个原因是我近视,还没有为它专门配近视镜片,主要是实用性不大,又得专门定制打造,因此高度近视的人士基本就很难实际使用它了(幸好我的近视读数还不算很高)
包装内卡片上的话:
You are a pioneer, a founder and an architect of what’s possible.
You are a Glass Explorer. We have an exciting journey ahead of us, and what happens next starts with you.

Start exploring at google.com/glass
引用出处与参考链接
- 用电脑端浏览器打开:MyGlass – Apps on Google Play ↩︎
- 引用自Google Glass Help帮助页面 ↩︎
- Github项目:Kernel source for Google Glass Explorer Edition (glass_1) ↩︎
- Reddit帖子:Google Glass Explorer Edition Final Update (XE24) Notes/Tips ↩︎
- CSDN博文:解决文件哈希值不在指定目录文件中的驱动强制签名问题 ↩︎
- 蓝奏云:Win11下能识别fastboot模式Glass眼镜的改版驱动usb_driver_r13-windows.zip ↩︎
- Notepad++官网下载页面:Downloads | Notepad++ ↩︎
- 第三方recovery:https://qwerty.lanzouy.com/ihlSo2x5m29e ↩︎
- System and Kernel Downloads ↩︎
- 引用自:Design Life-Cycle ↩︎
- 蓝奏云:【XE24能用的免登录版app】MyGlass-com.google.glass.companion-3.5.8_MlgmXyysd_MOD.apk ↩︎